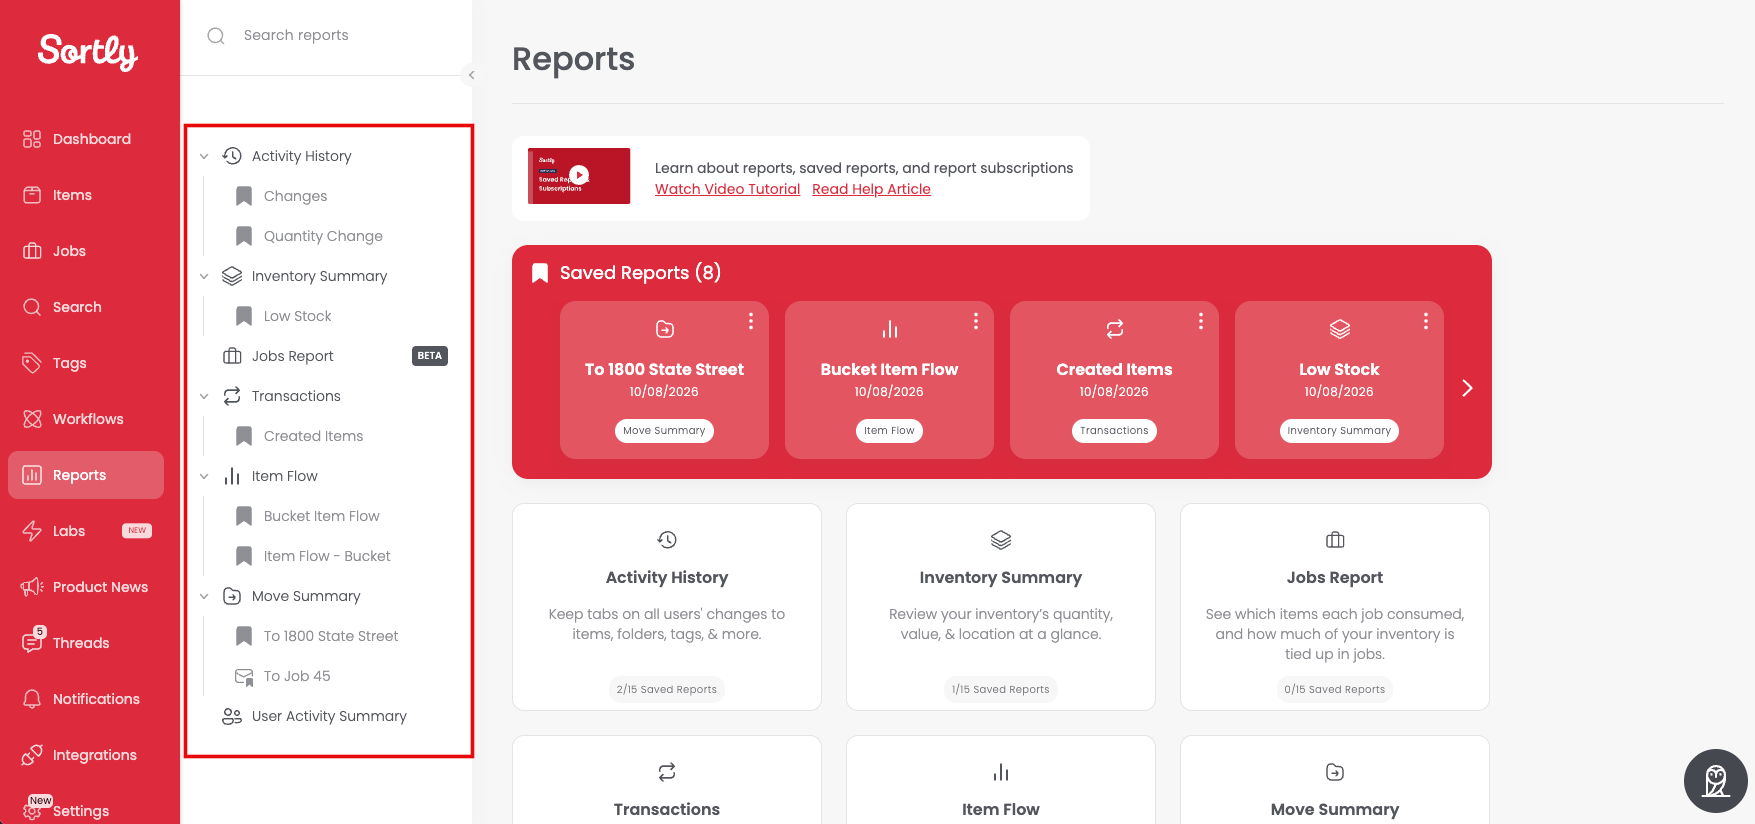
Save time by saving your filtered reports, so you can reopen your Activity History, Inventory Summary, Transactions, Item Flow, and Move Summary views without setting the filters again. This article walks you through saving a report and finding it later.
Ultra
Premium
Enterprise
In this article
Creating Saved Reports
💡 Saved reports are user-specific. If multiple users need the same report, each user will need to recreate it in their own account.
Each report has its own filters to help you narrow down your results. Pick the report you want to save below.
Activity History
1
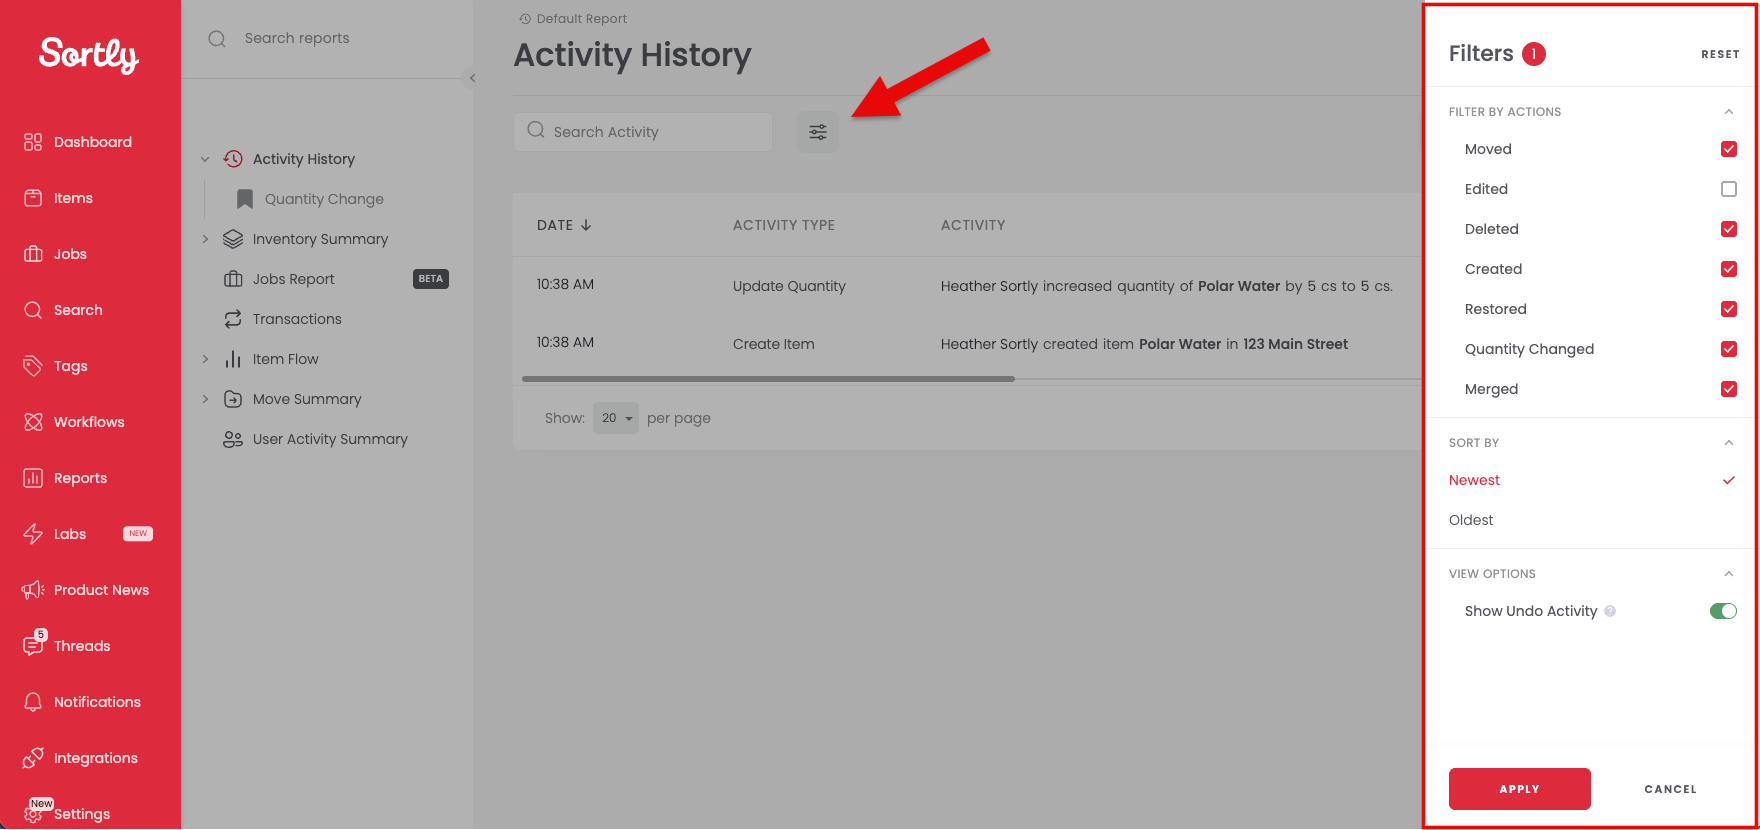
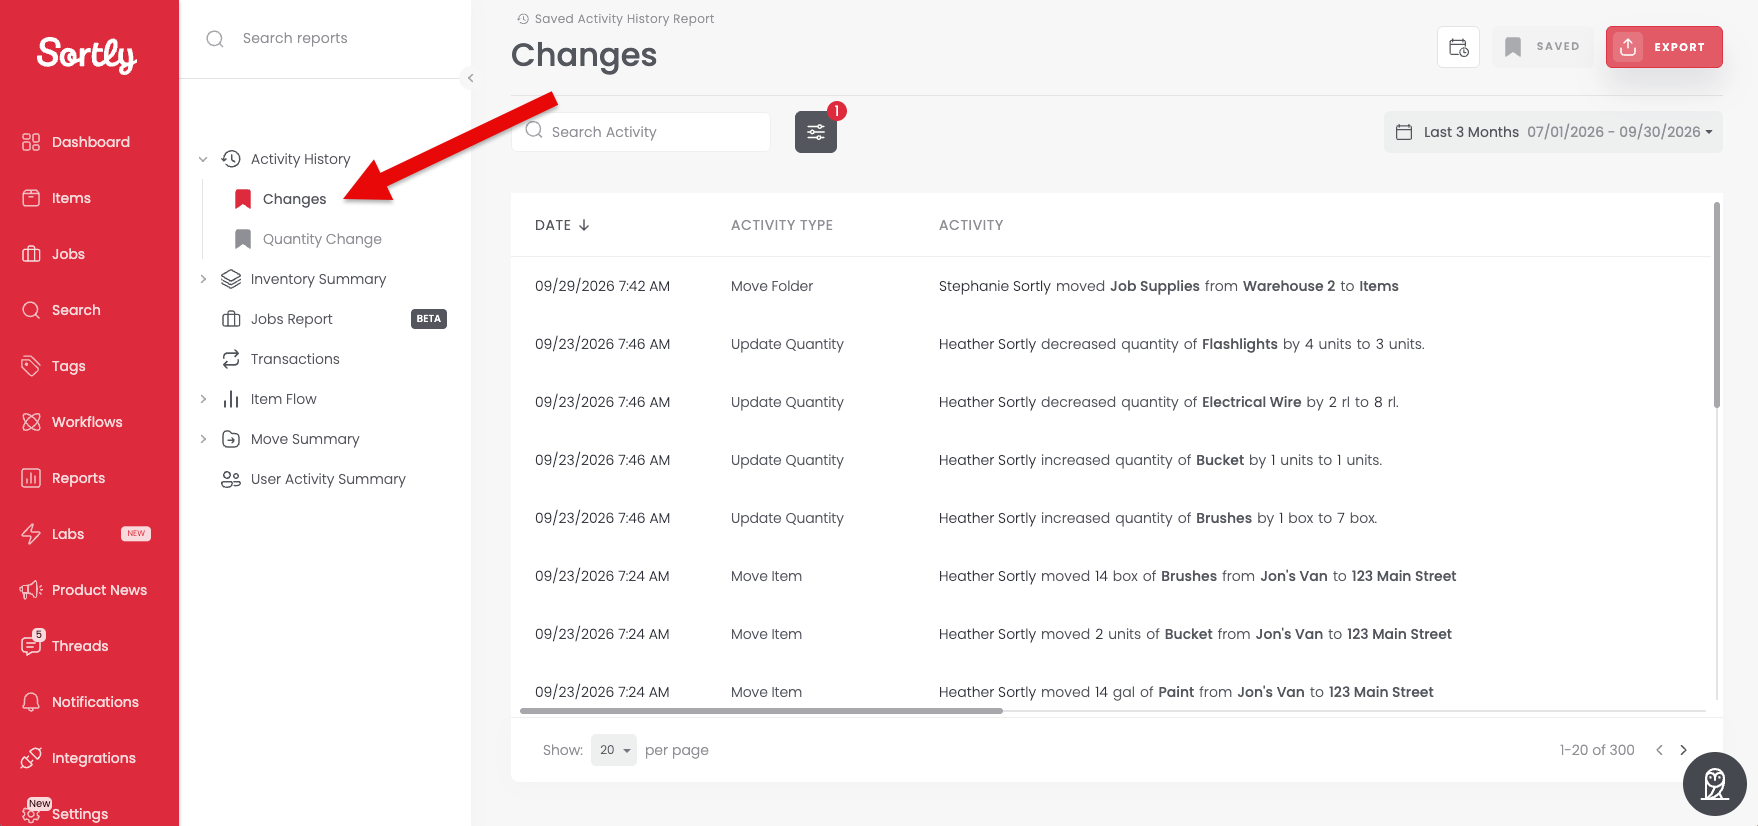
Select the filter icon at the top of the page.
2
In the Filters panel, select the type of activity you want to see, such as Moved, Deleted, or Created.
3
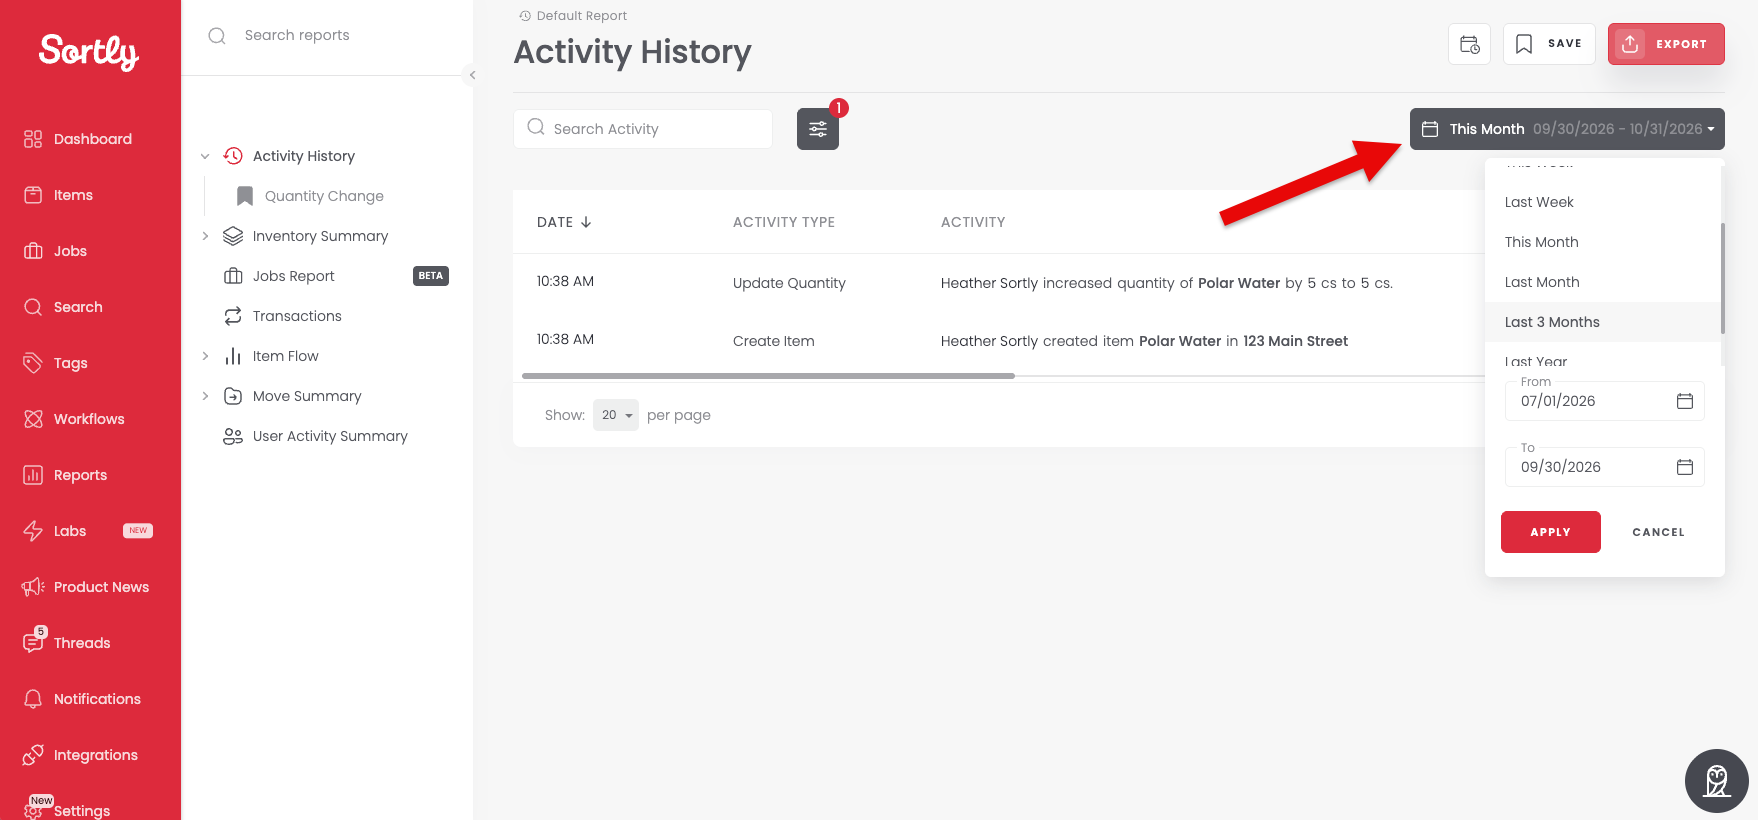
Select the date range you want to view at the top right of the report.
4
Select Apply to see the filtered results.
5
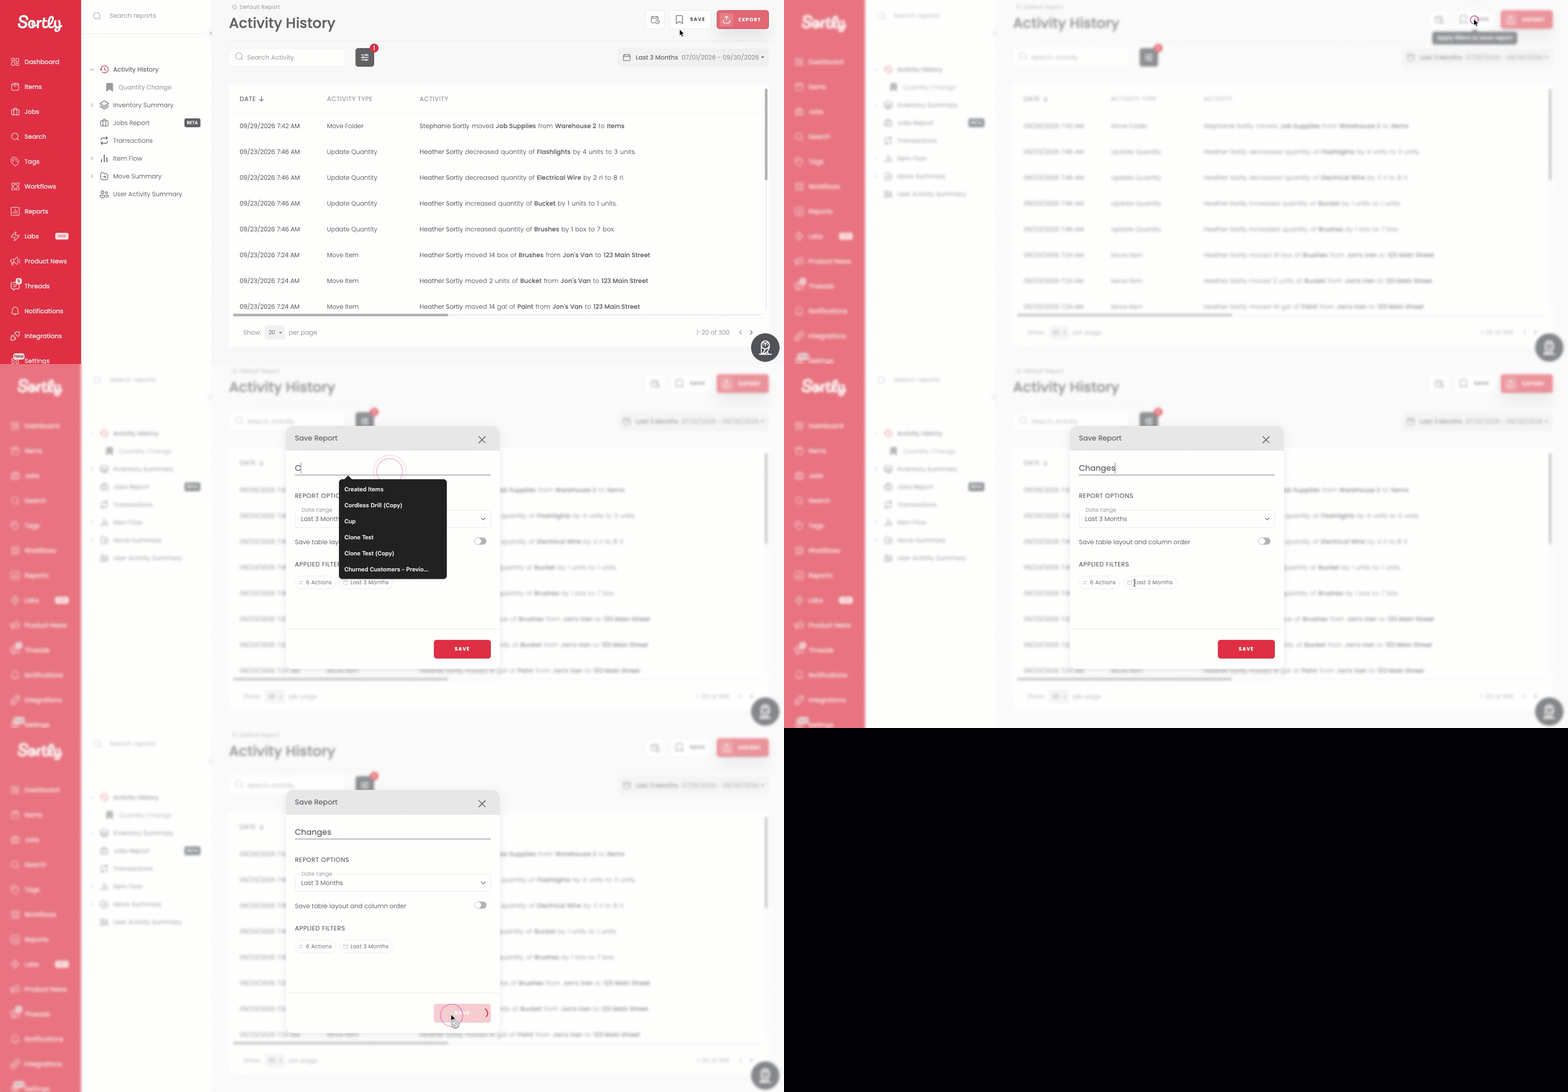
Select Save at the top of the page.
6
Enter a name for the report. If you want the report to keep your table layout and column order, select Save table layout and column order. Then select Save in the window.
7
Your saved report appears in the report list on the left, under Activity History. The Save button at the top changes to Saved.
Inventory Summary
1
Select Reports in the left menu, then select Inventory Summary.
2
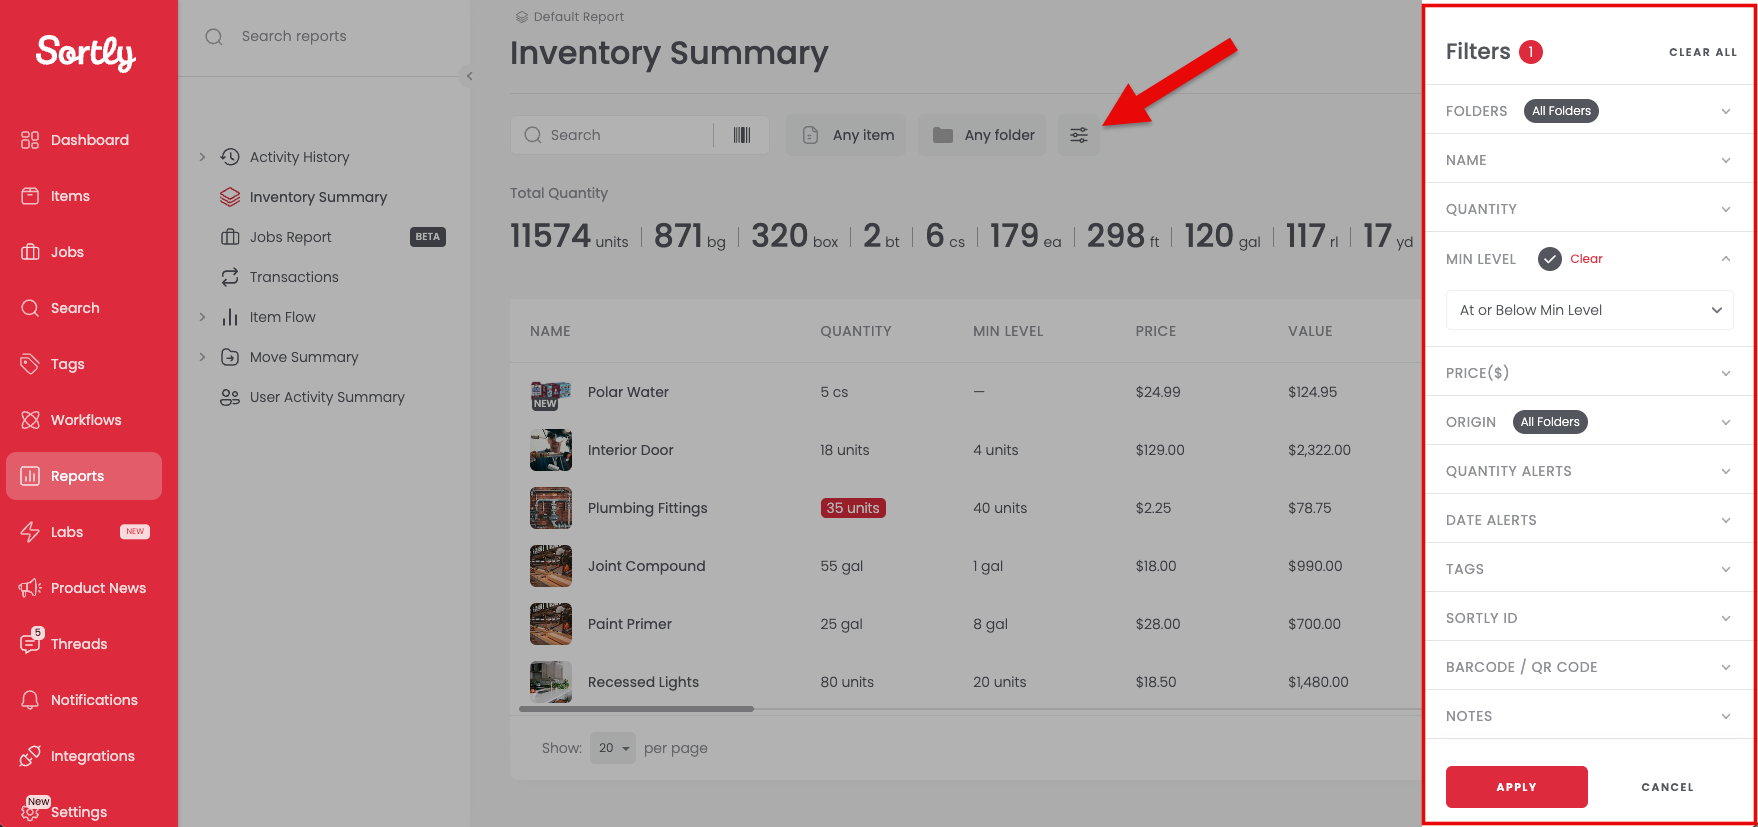
Select the filter icon at the top of the page and choose your filters in the Filters panel on the right.
3
Select Apply to see the filtered results.
4
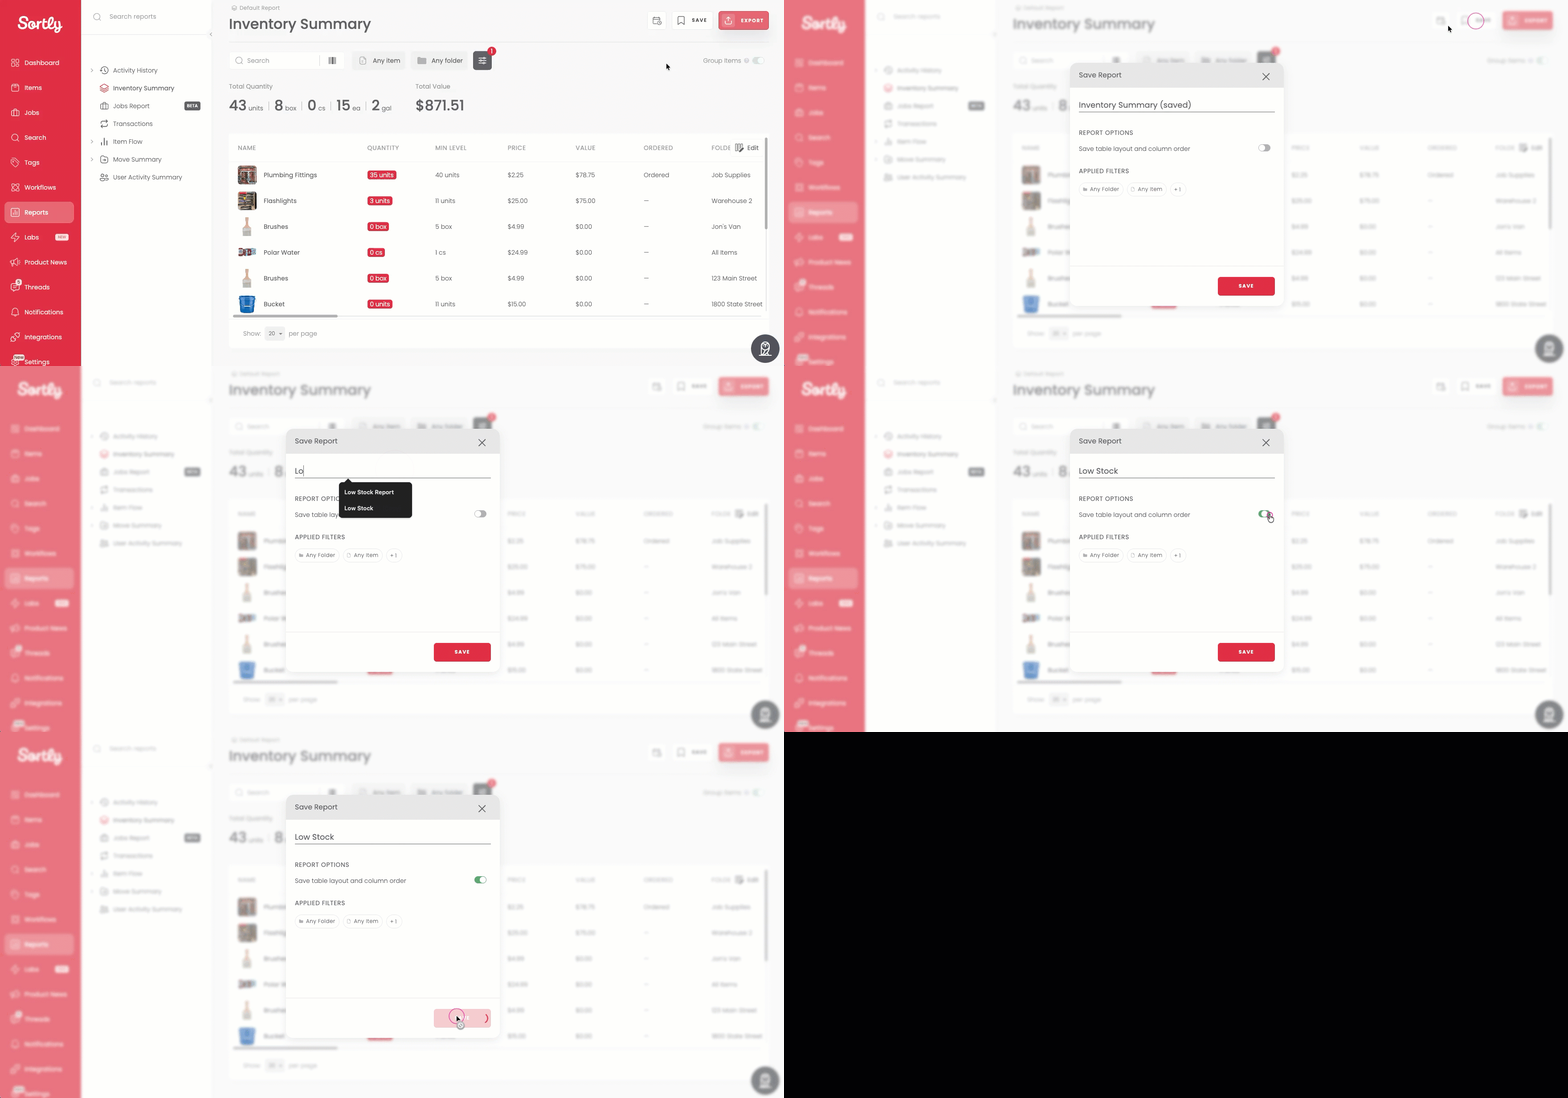
Select Save at the top of the page.
5
Enter a name for the report. If you want the report to keep your table layout and column order, select Save table layout and column order. Then select Save in the window.
Transactions
1
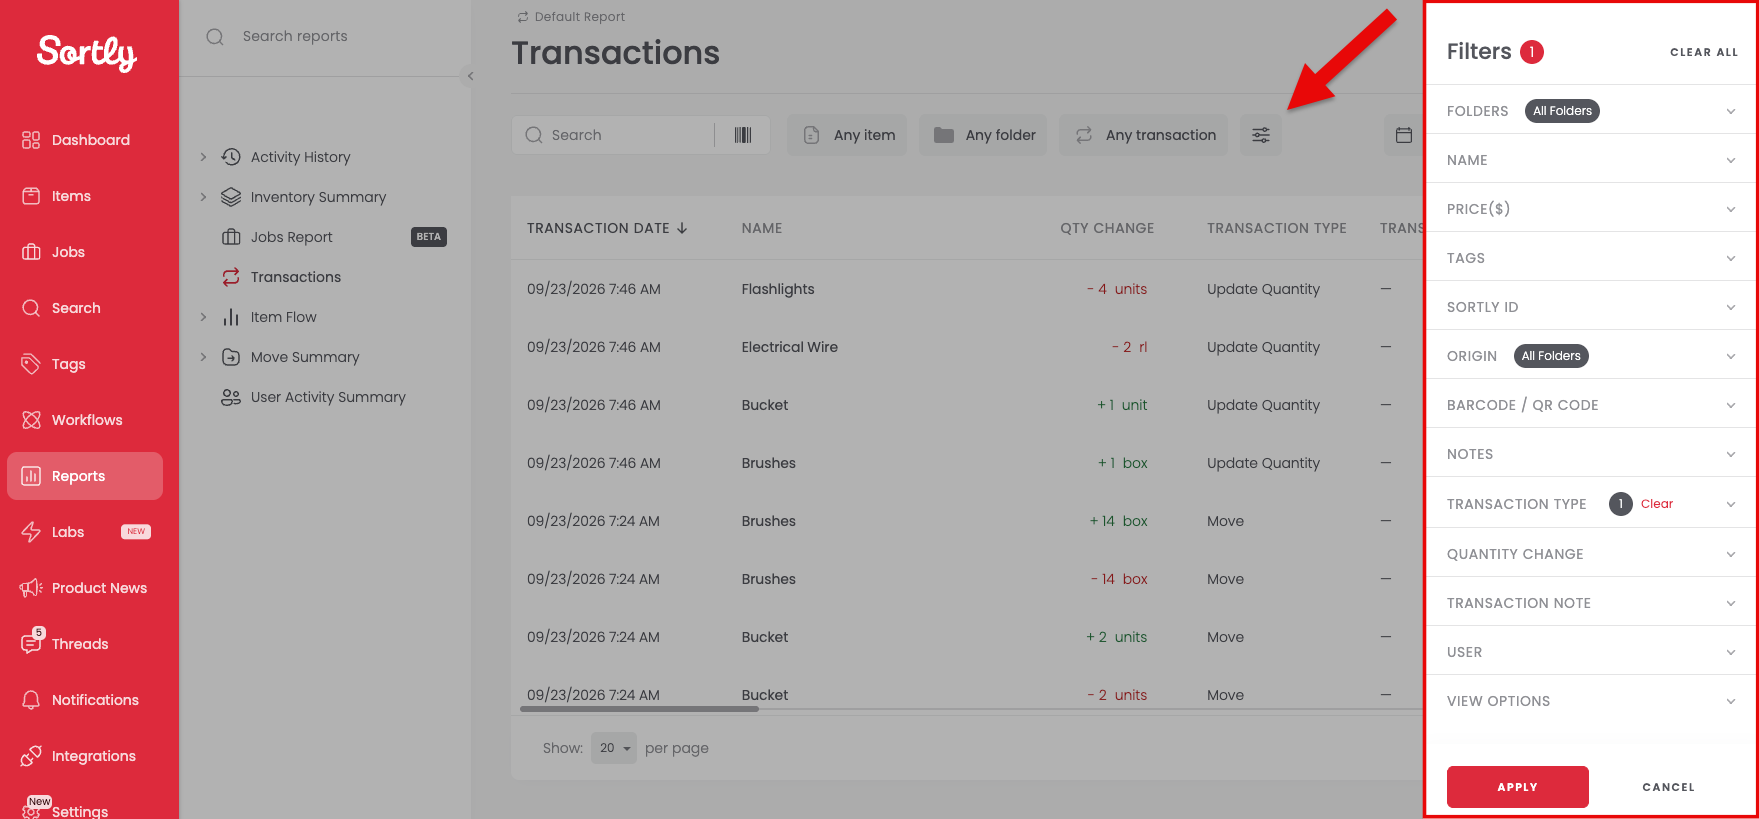
Use Any folder, Any item, Any transaction, and the date range at the top of the report to choose what to filter by.
2
To add more filters, select the filter icon and choose them in the Filters panel.
3
Select Apply to see the filtered results.
4
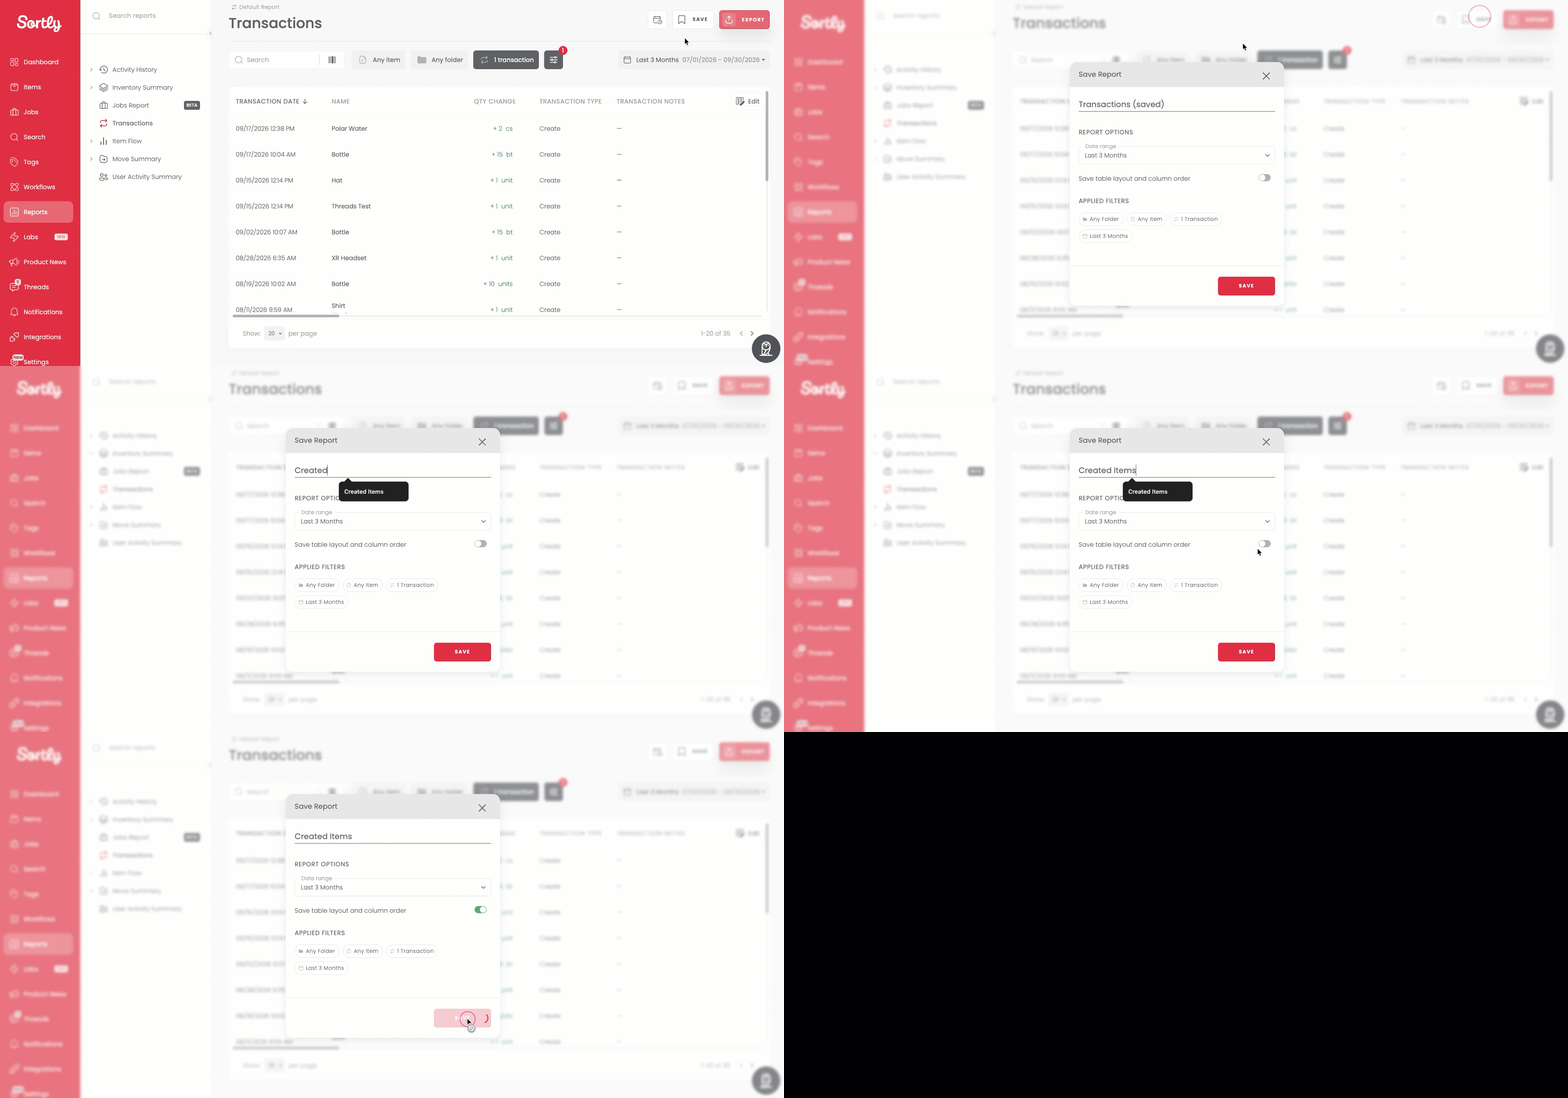
Select Save at the top of the page.
5
Enter a name for the report. If you want the report to keep your table layout and column order, select Save table layout and column order. Then select Save in the window.
Item Flow
1
Select the item or folder you want to filter by using Any item or Any folder, and choose the date range.
2
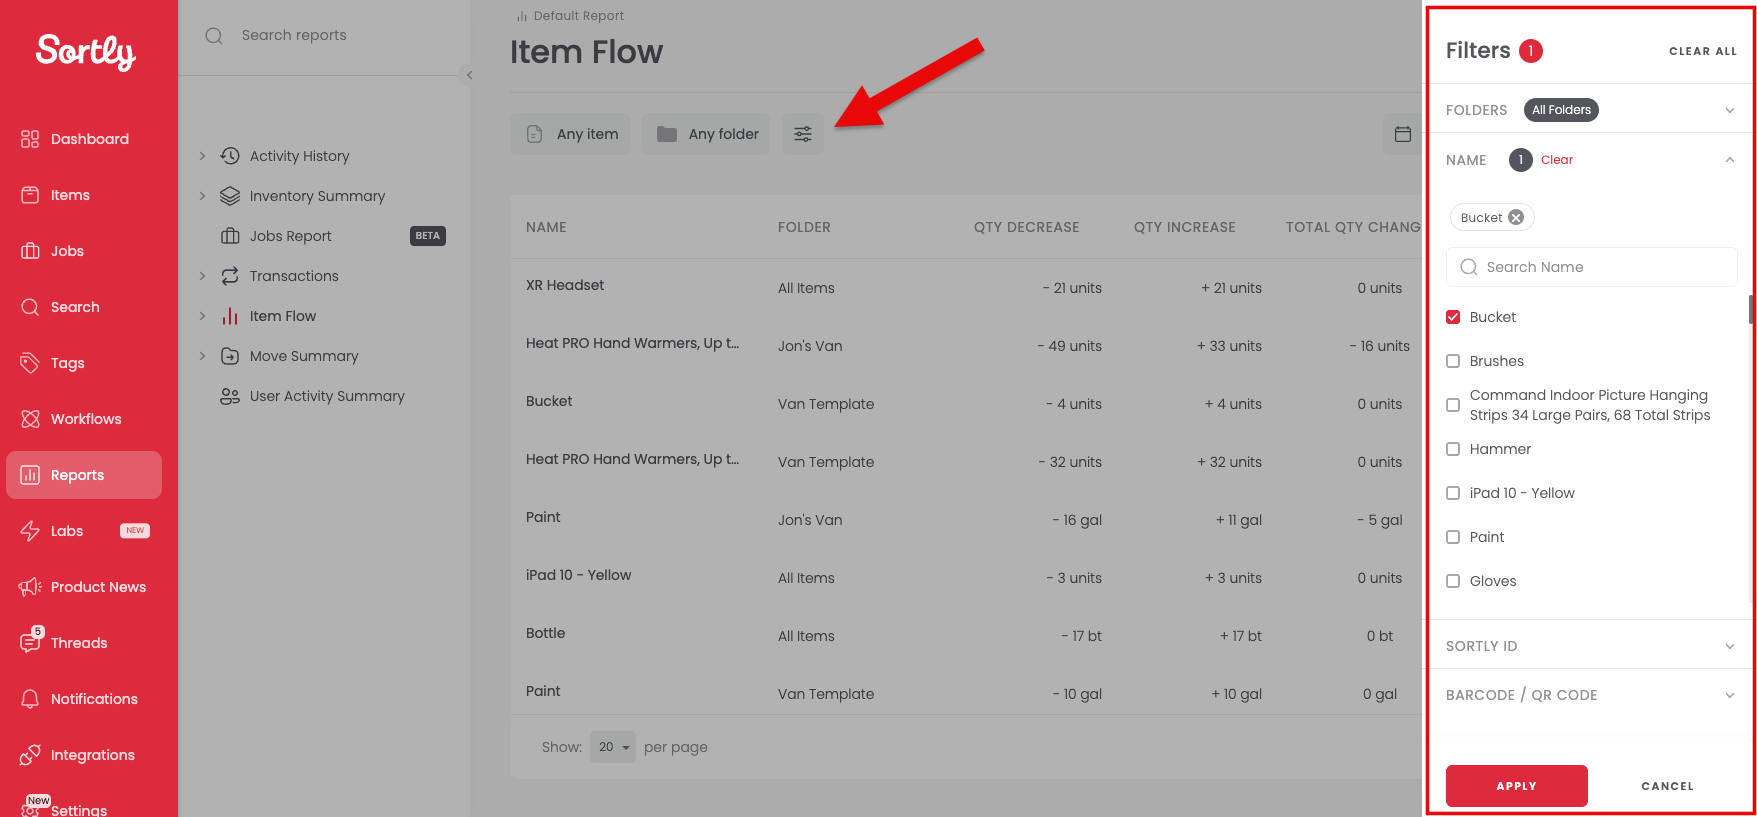
To add more filters, select the filter icon and choose them in the Filters panel.
3
Select Apply to see the filtered results.
4
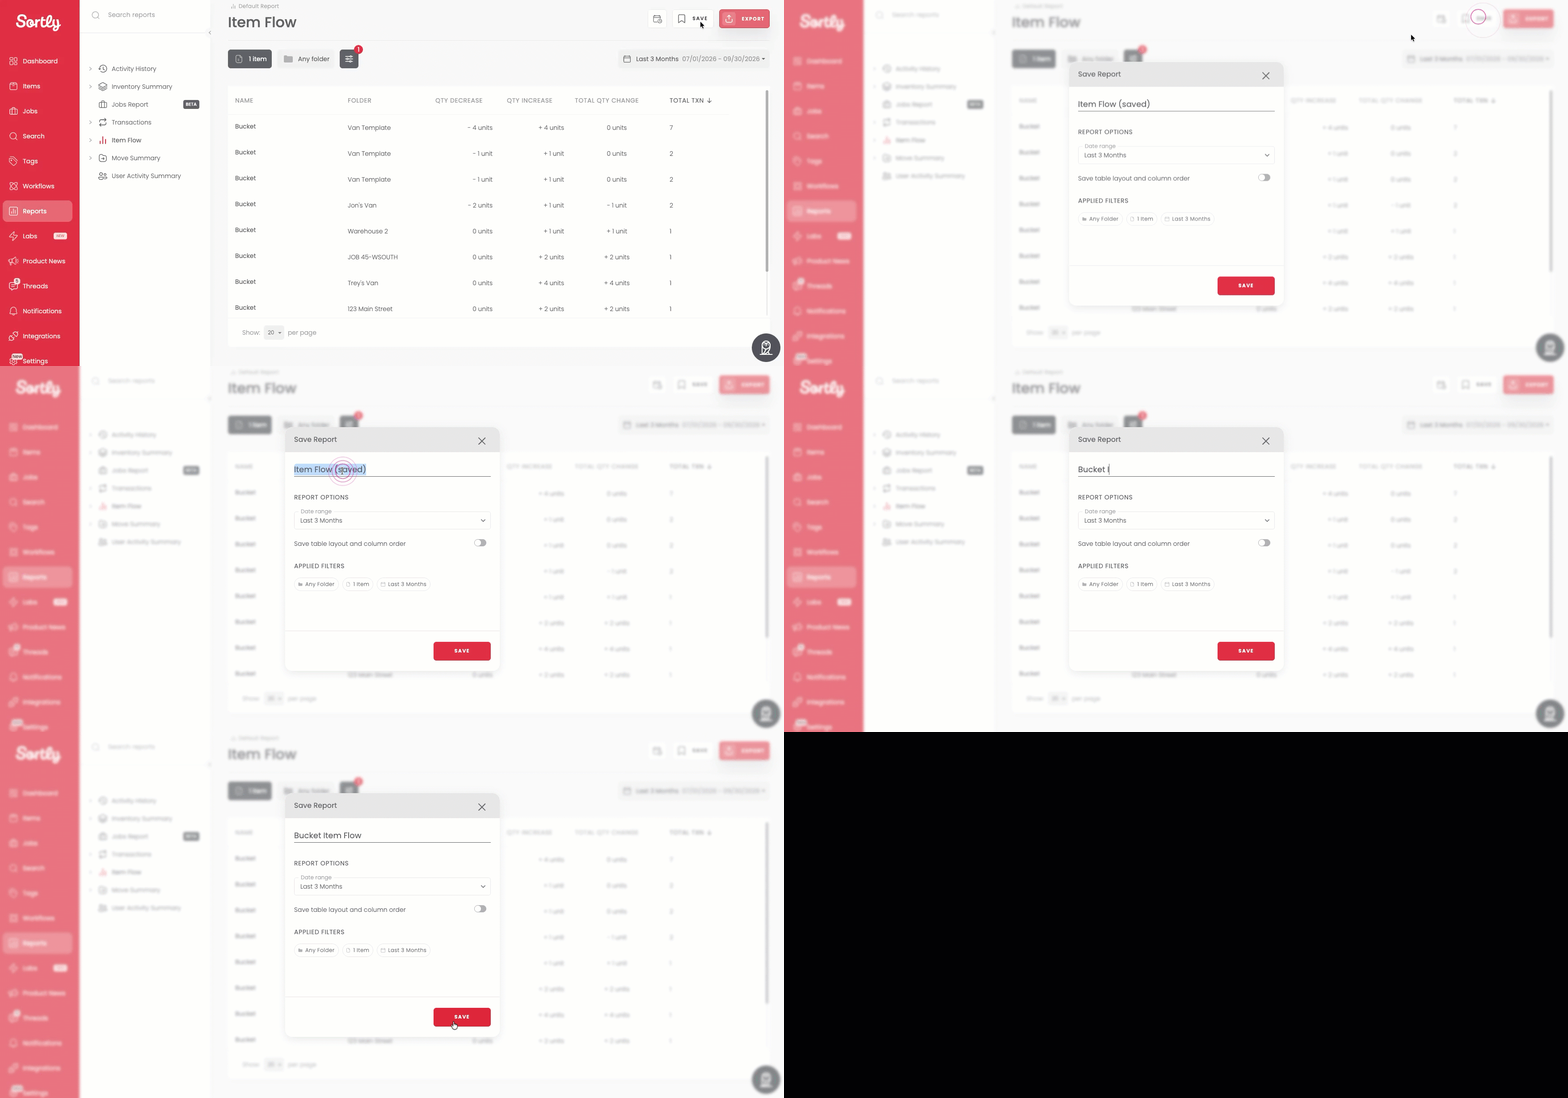
Select Save at the top of the page.
5
Enter a name for the report. If you want the report to keep your table layout and column order, select Save table layout and column order. Then select Save in the window.
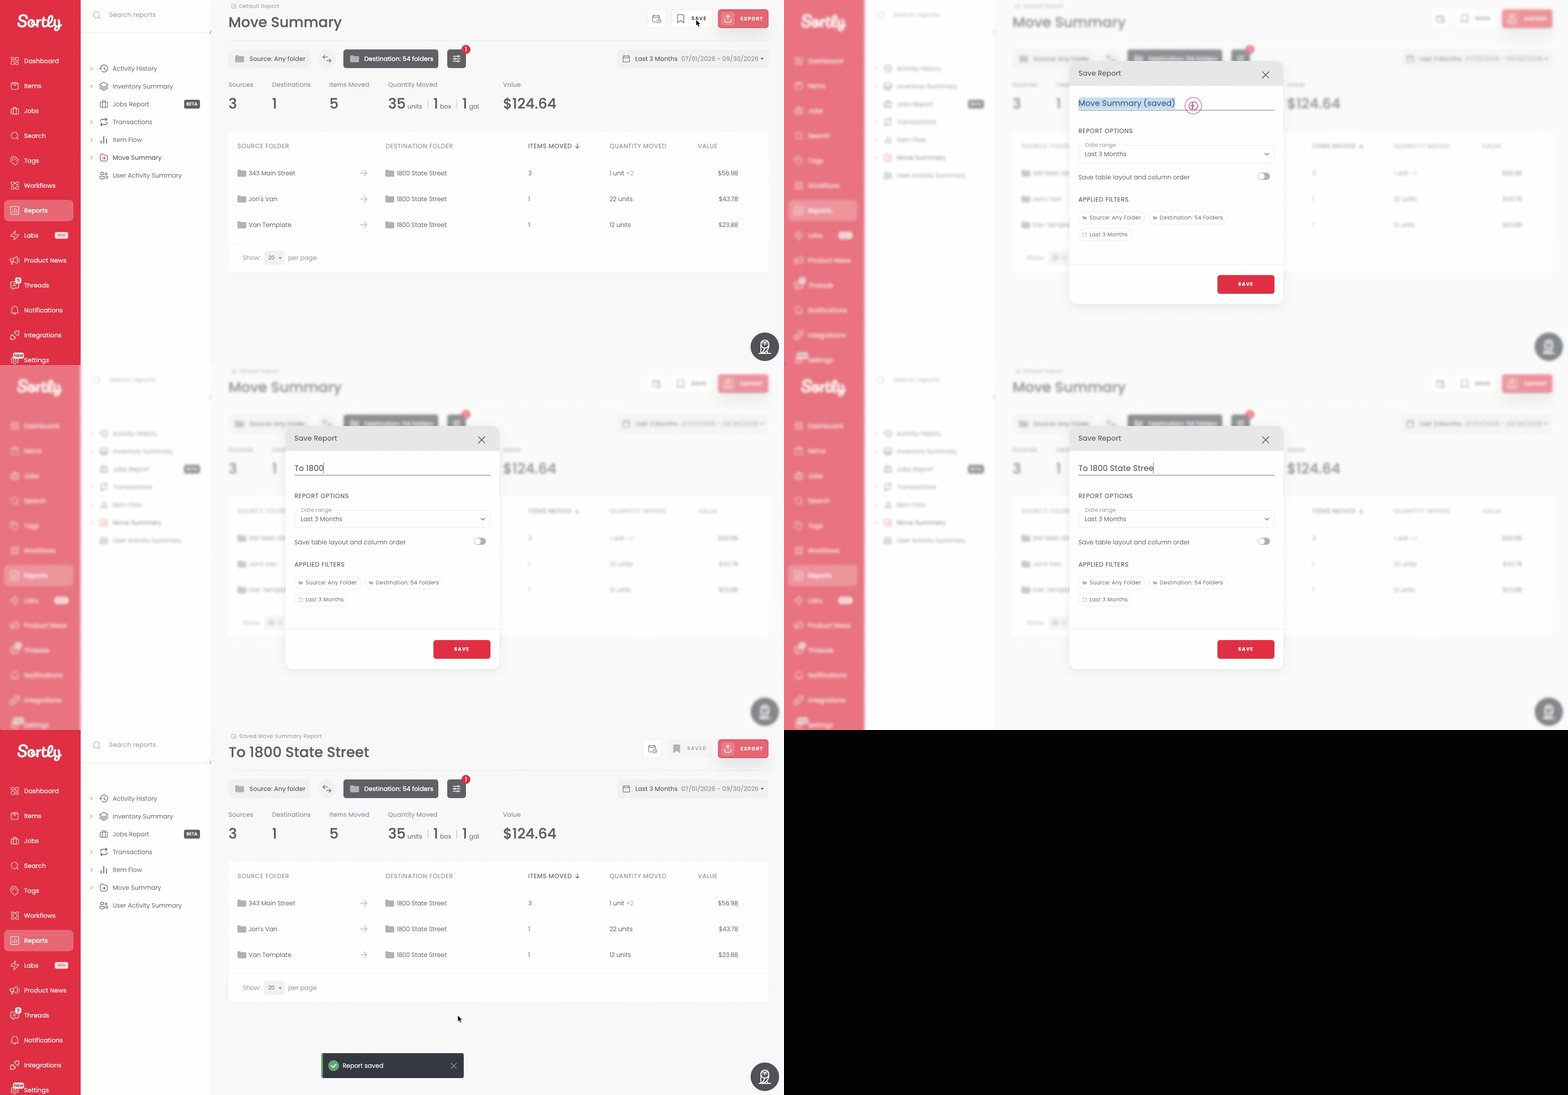
Move Summary
1
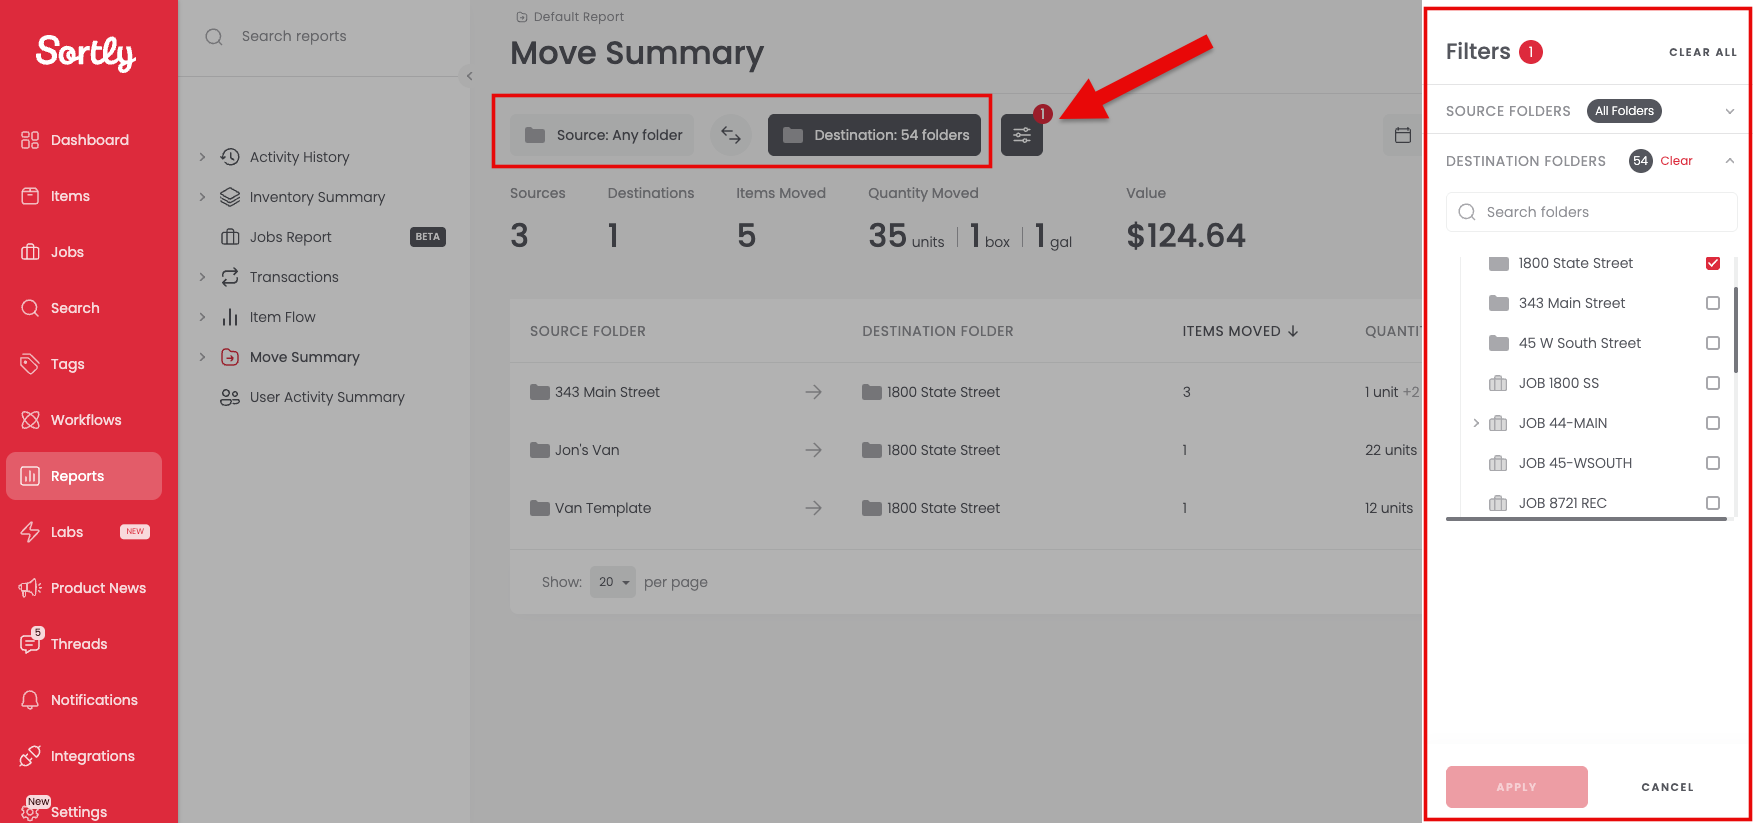
Choose the source and destination folders you want to filter by, along with the date range. You can also select the filter icon to find the same options.
2
Select Apply to see the filtered results.
3
Select Save at the top of the page.
4
Enter a name for the report. If you want the report to keep your table layout and column order, select Save table layout and column order. Then select Save in the window.
Viewing Saved Reports
Once you've saved your reports, you can open them at any time. Select Reports in the left menu, then select a report tile in the Saved Reports section, or expand a report type in the list on the left to see the reports saved under it.