It's easy to add items to Sortly, whether you're using the web or mobile app. You can add items individually, scan a code, or use the Bulk Import feature for multiple items.
In this article
Add items on the web
1From the Items tab or within a folder, click Add Item.
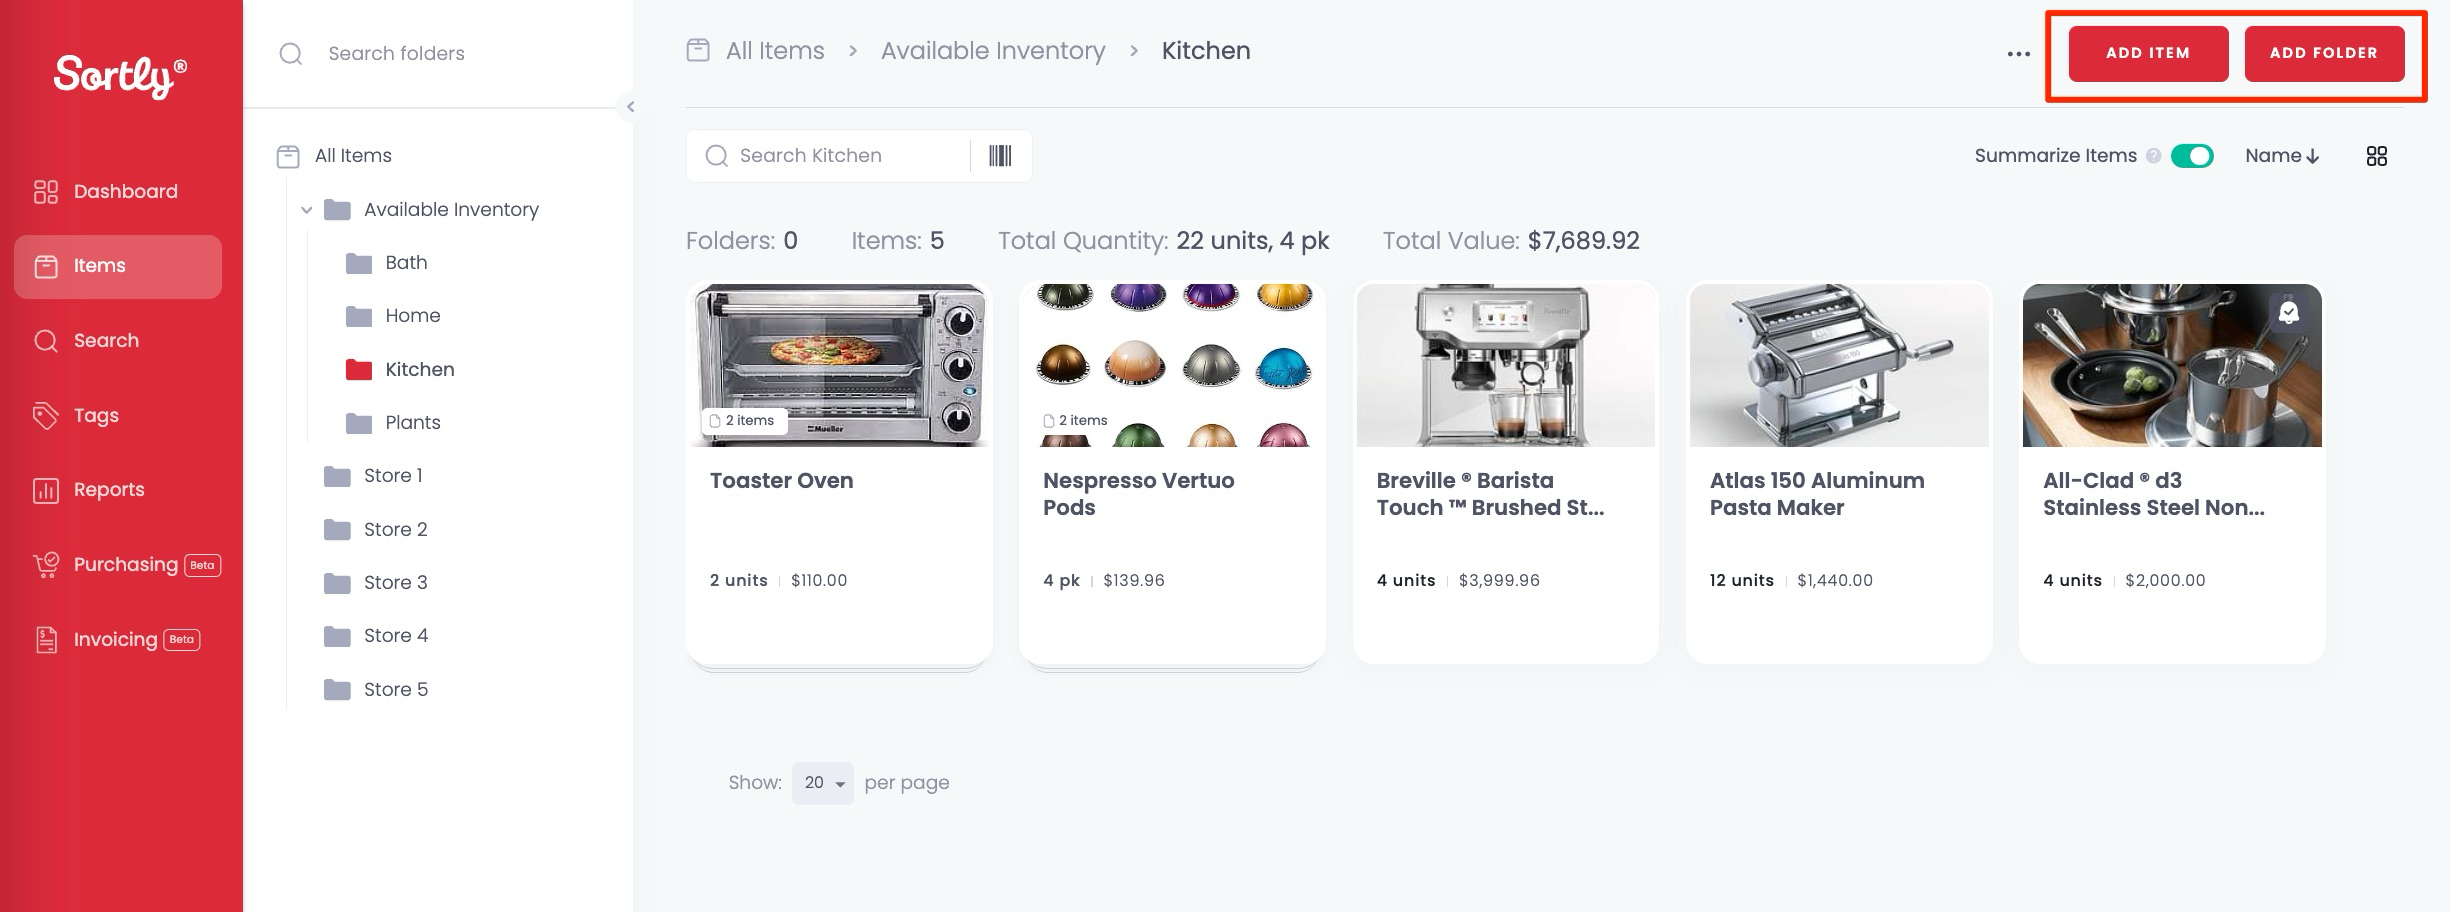
2Enter the details about the item.
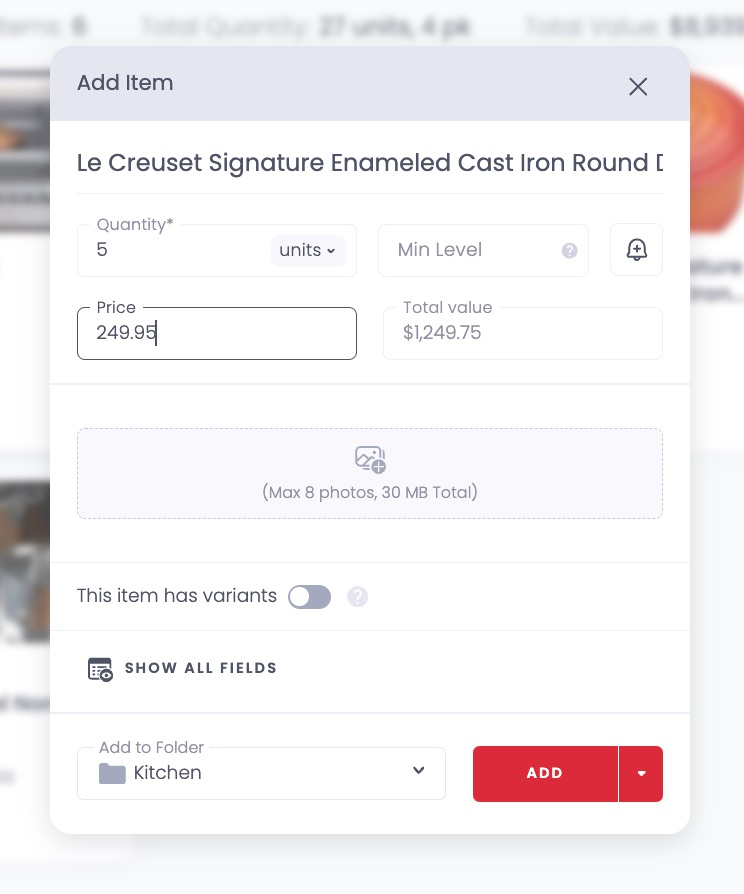
3Review the default fields.
The image above shows all the default fields you can use to add details about the item. There are only two required fields: Item Name and Quantity. Outside of these, you can add more information or leave the other fields blank.
The fields you will see by default are:
- Item Name
- Quantity
- Min Level
- Alerts (bell icon)
- Price
- Value
- Add images (up to 8 total images)
- Item Variants
4Optional: click Show All Fields to add all of the item details at once.
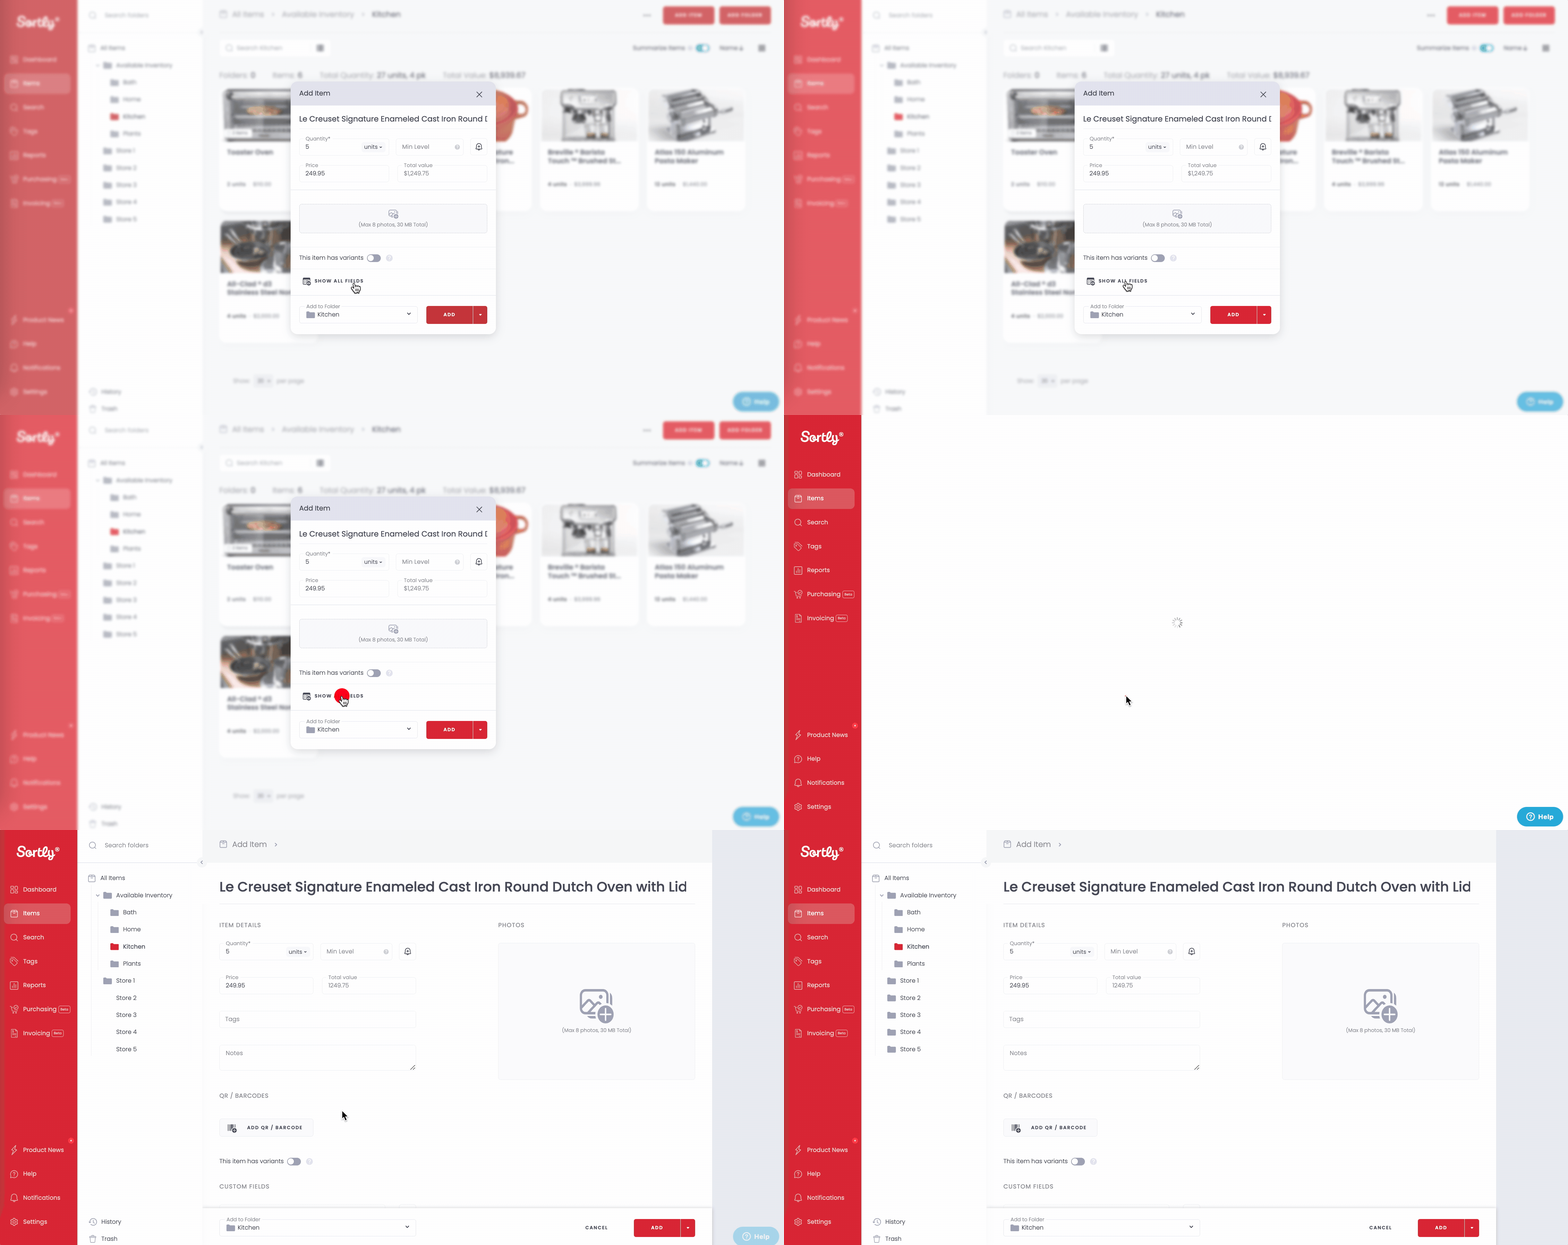
5Click Add, and your item will be in your inventory!
Add items on the mobile app
1From the Items tab, tap the + sign in the bottom right and choose Add Item.
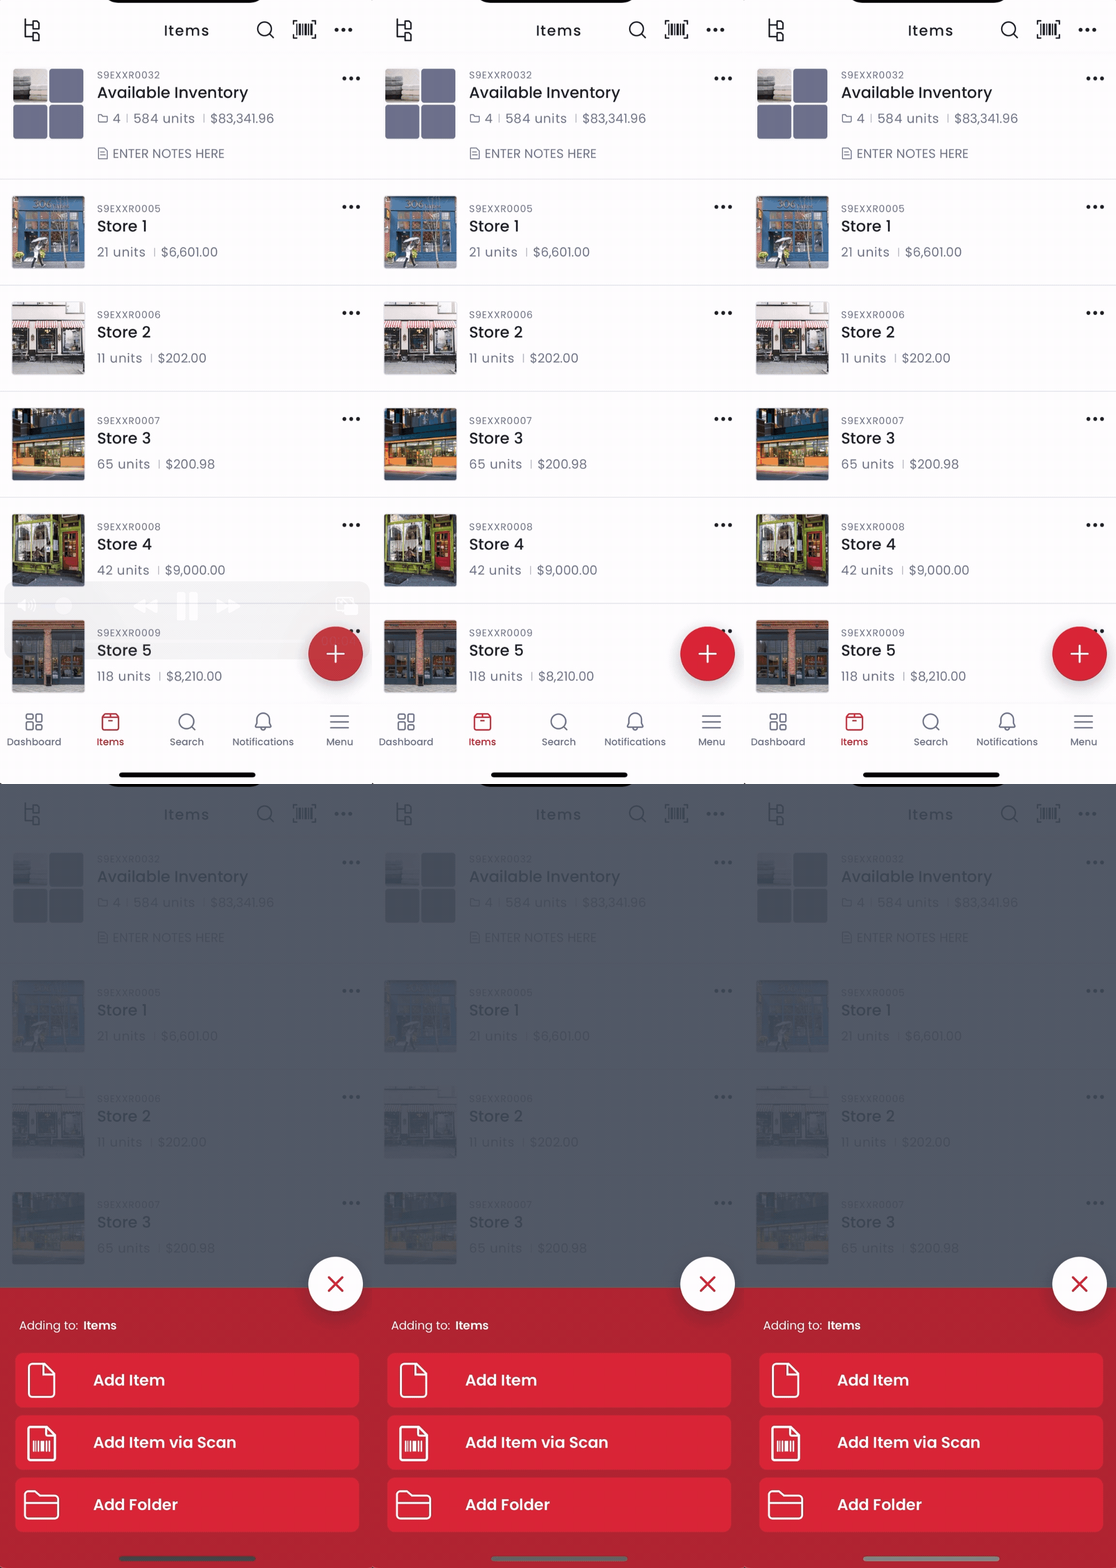
2Enter the details of the item, including Item Name, Quantity, and any other information you'd like to include, and tap Save in the upper right.
Add items by scanning on mobile
1From the Items tab, tap the + sign and then Add Item via Scan.
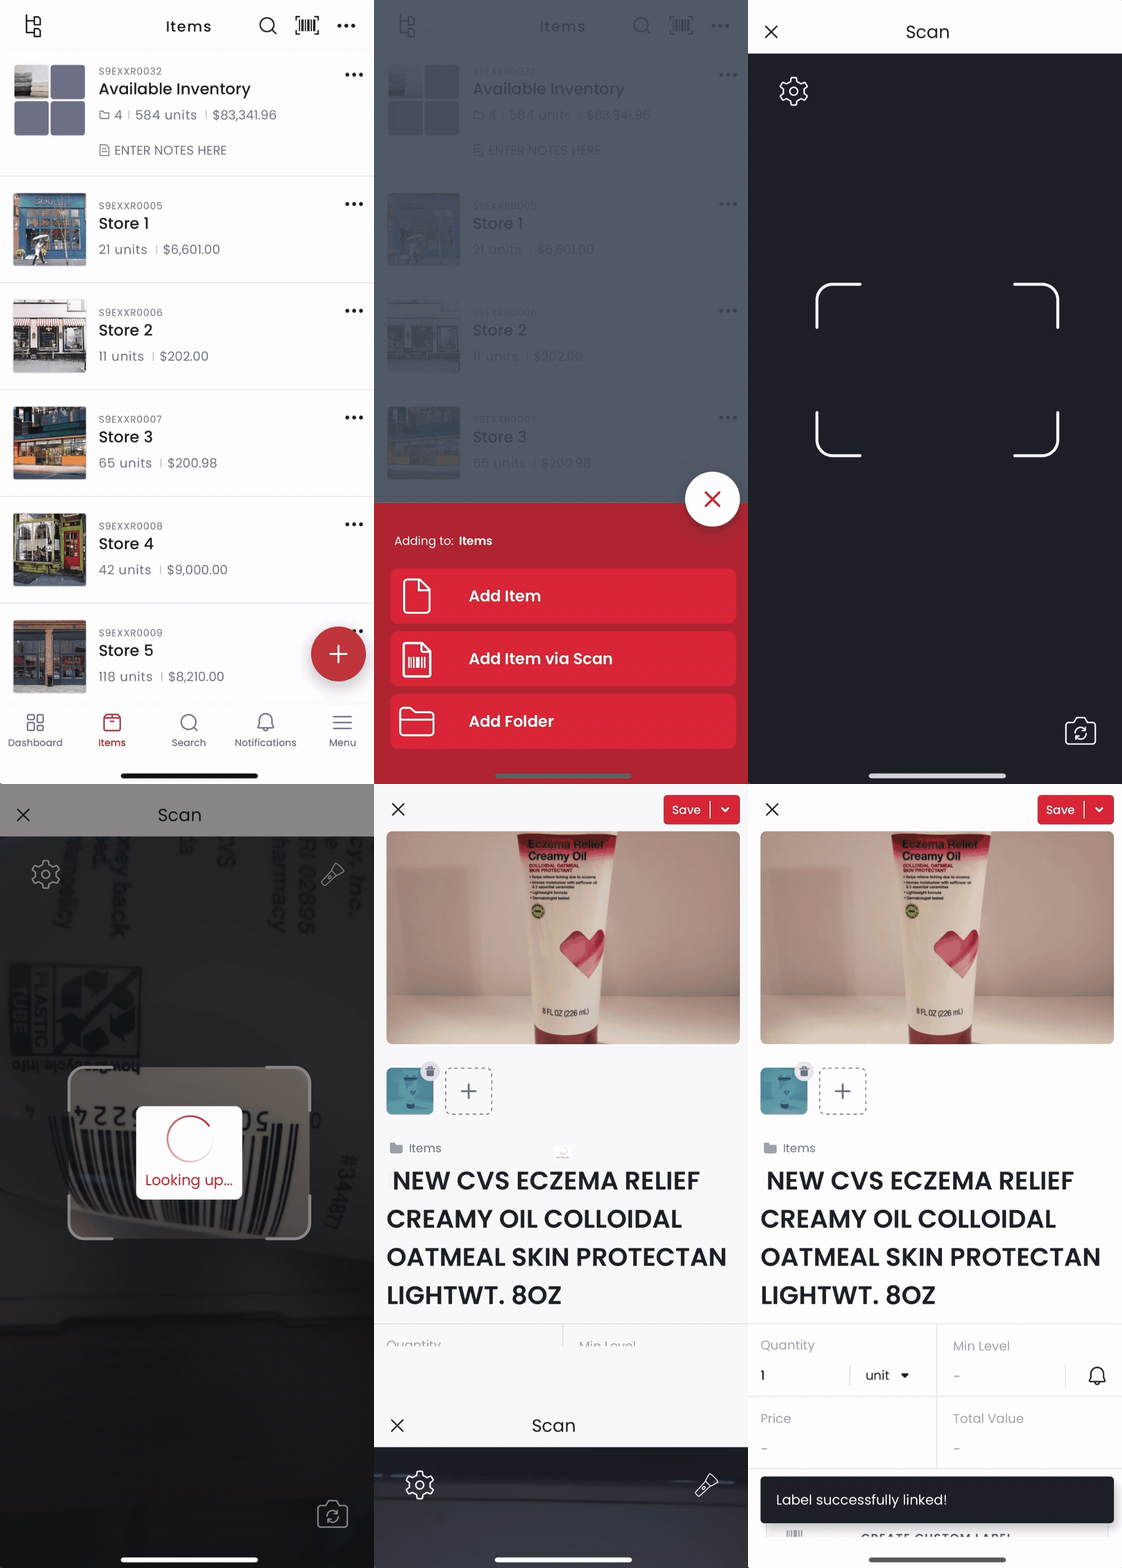
2The scanner will appear, and you can scan the code.
- If the code can be found on Amazon or eBay, Sortly will auto-populate the item details.
- If the code cannot be located, you can enter the item details manually.
3Once your item details are entered, tap Save in the upper right.
Add items in bulk
If you would like to add items in bulk, see the Bulk Import article. You can use our prebuilt template, or use your own Excel file to import multiple items at one time.
Clone or duplicate items
With Sortly, it's a breeze to duplicate (clone) individual items or entire folders using the desktop or mobile app. This makes adding inventory with the same specifications quick and easy.
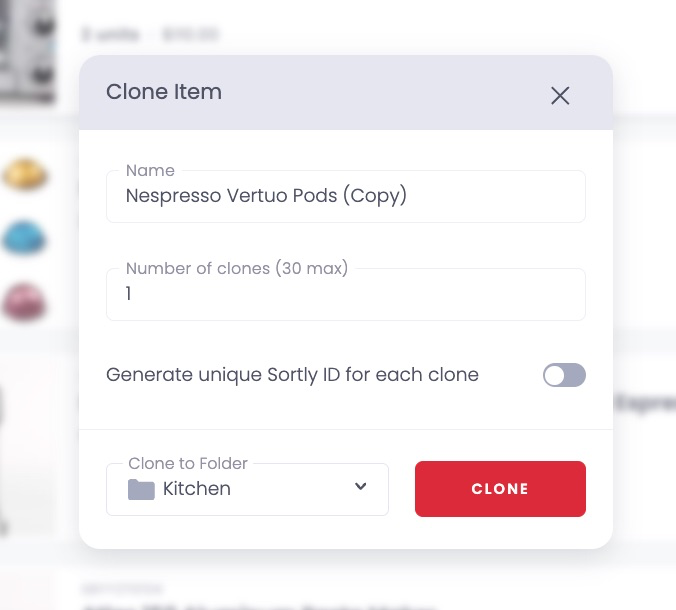
When cloning an item, you can:
- Rename the item
- Choose the number of clones
- Choose to create unique Sortly IDs (SID) for each clone
- Choose the location of the cloned item(s)
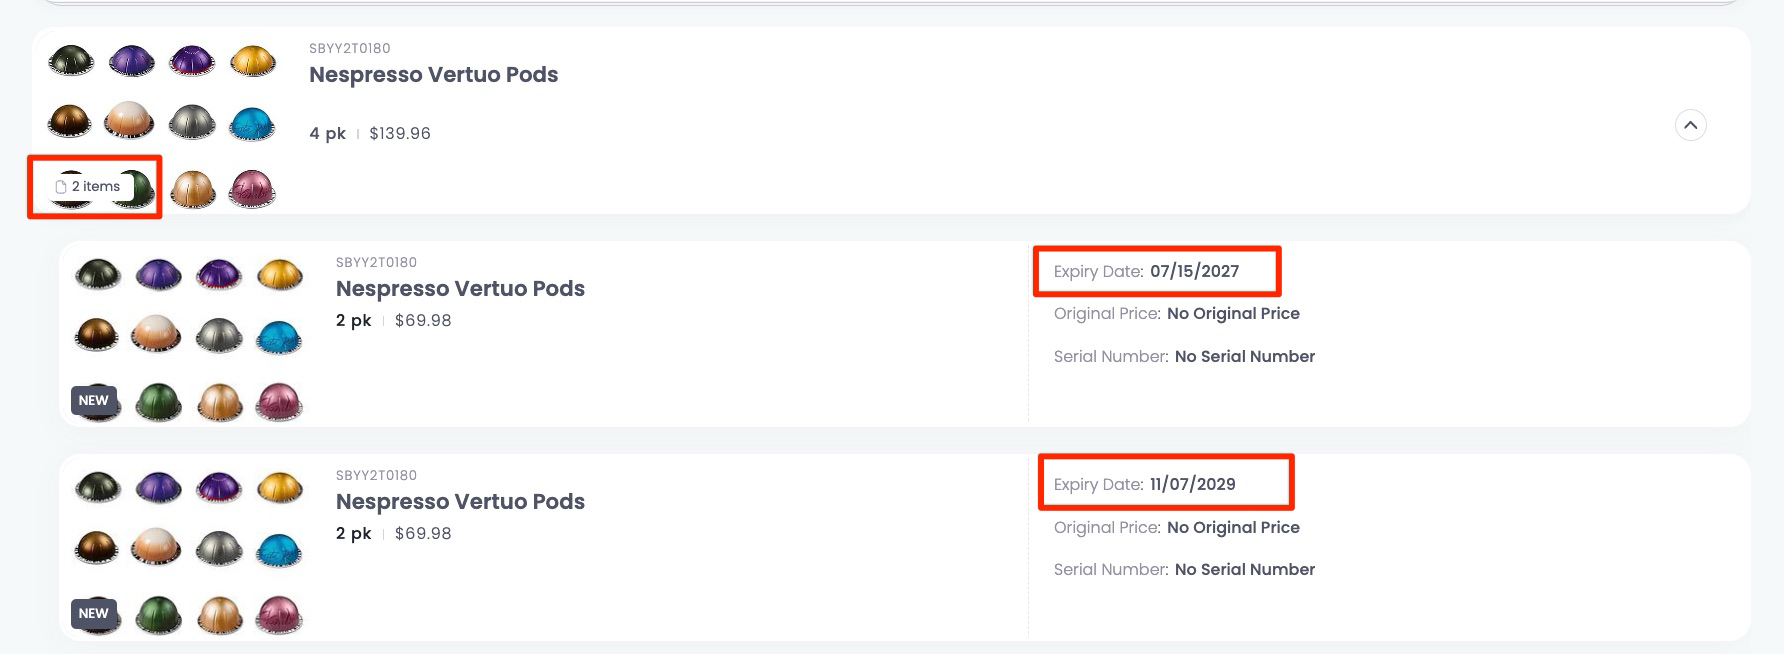
In the example below, we have an item with an expiry date set, but we received the same item with a different expiry date.
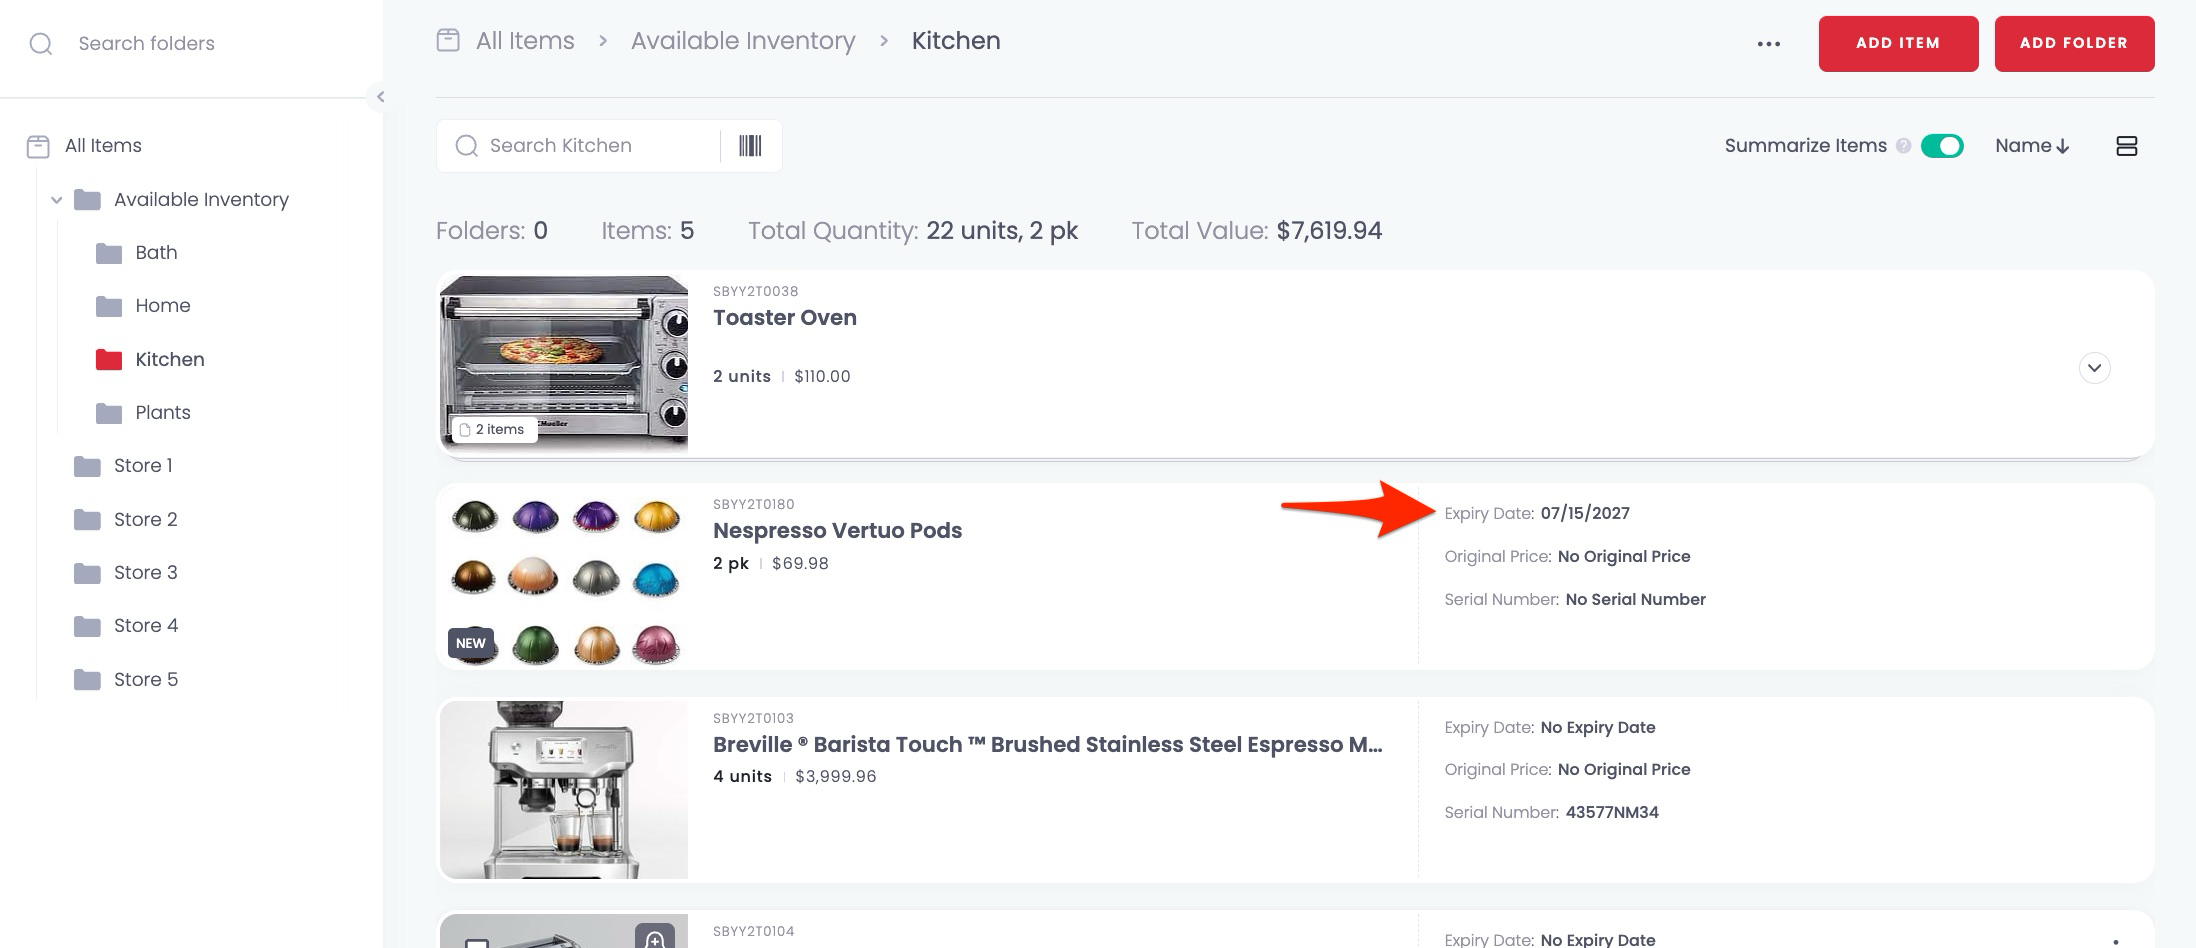
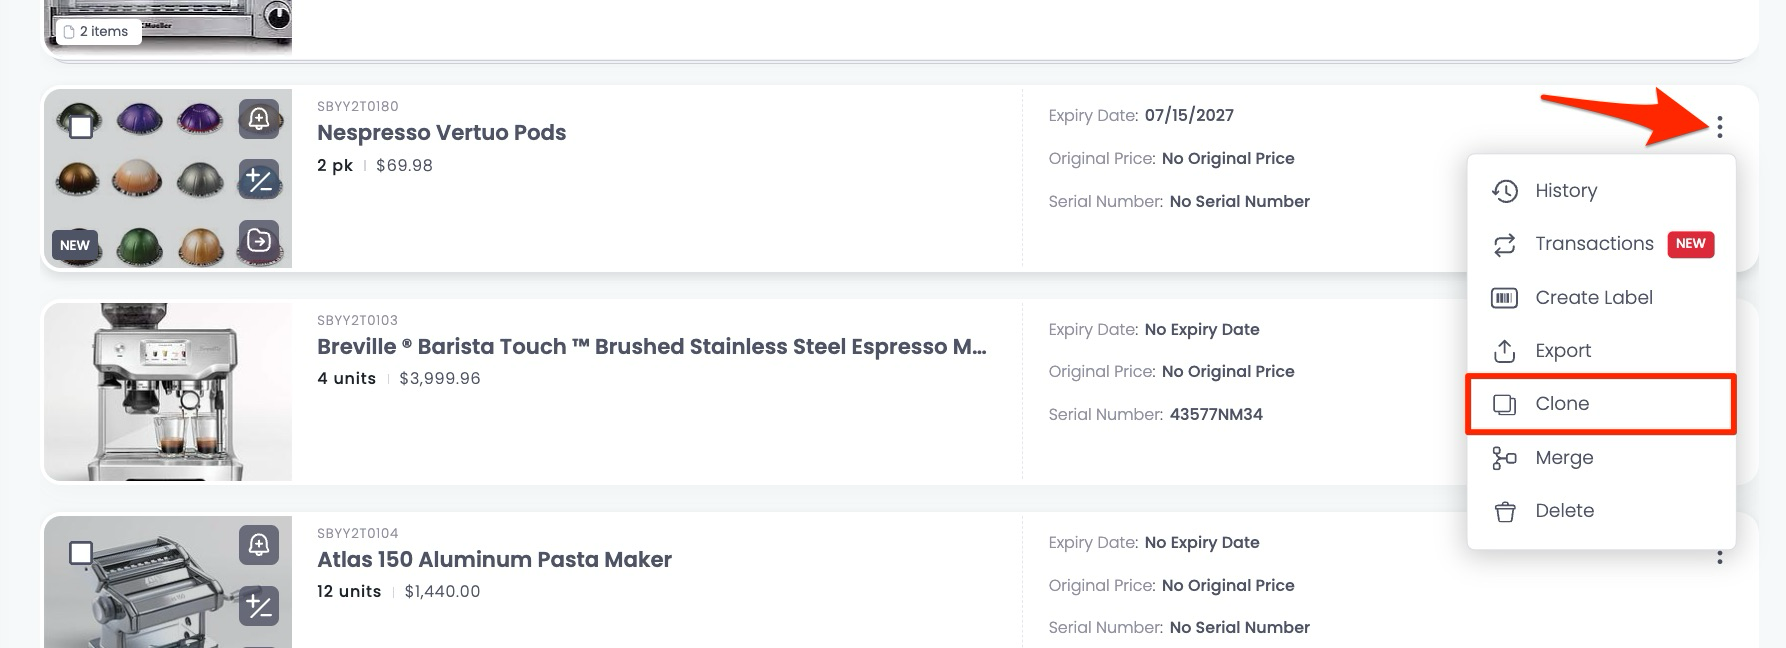
1Click the three dots and then choose Clone.
2Adjust the details of the item. If the item is exactly the same, we suggest removing (Copy).
3Once the clone is created, click Edit to add the unique expiry date.
4You will then see 2 items nested under one, with different expiry dates.