
Tags provide a flexible way to organize your inventory beyond folder structure. While folders are often used to reflect locations or categories, tags let you group items by other helpful attributes like brand, color, condition, or status. This makes it easier to filter, search, and report on your inventory.
In this article
Adding Tags
Tags can be added through various methods:
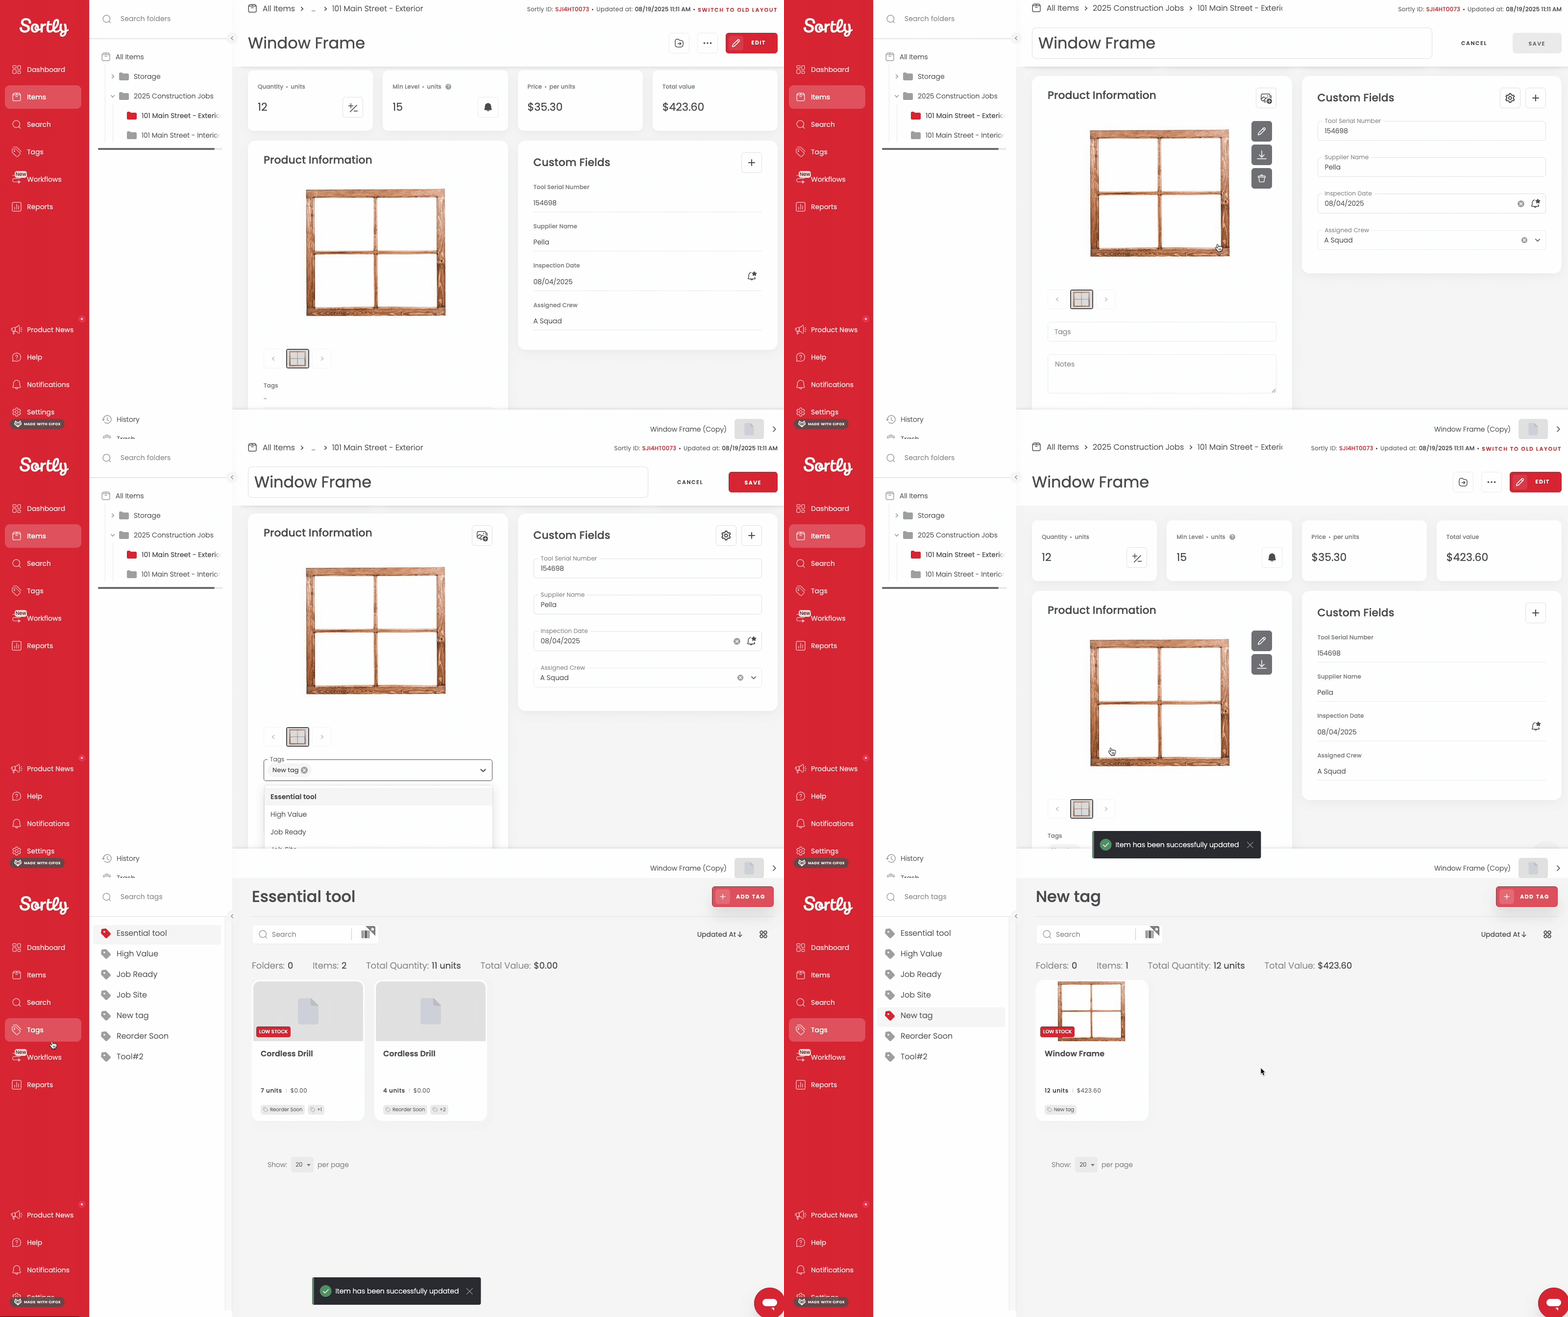
- Direct Input: Enter tags directly into the 'Tags' field when adding or editing items or folders.
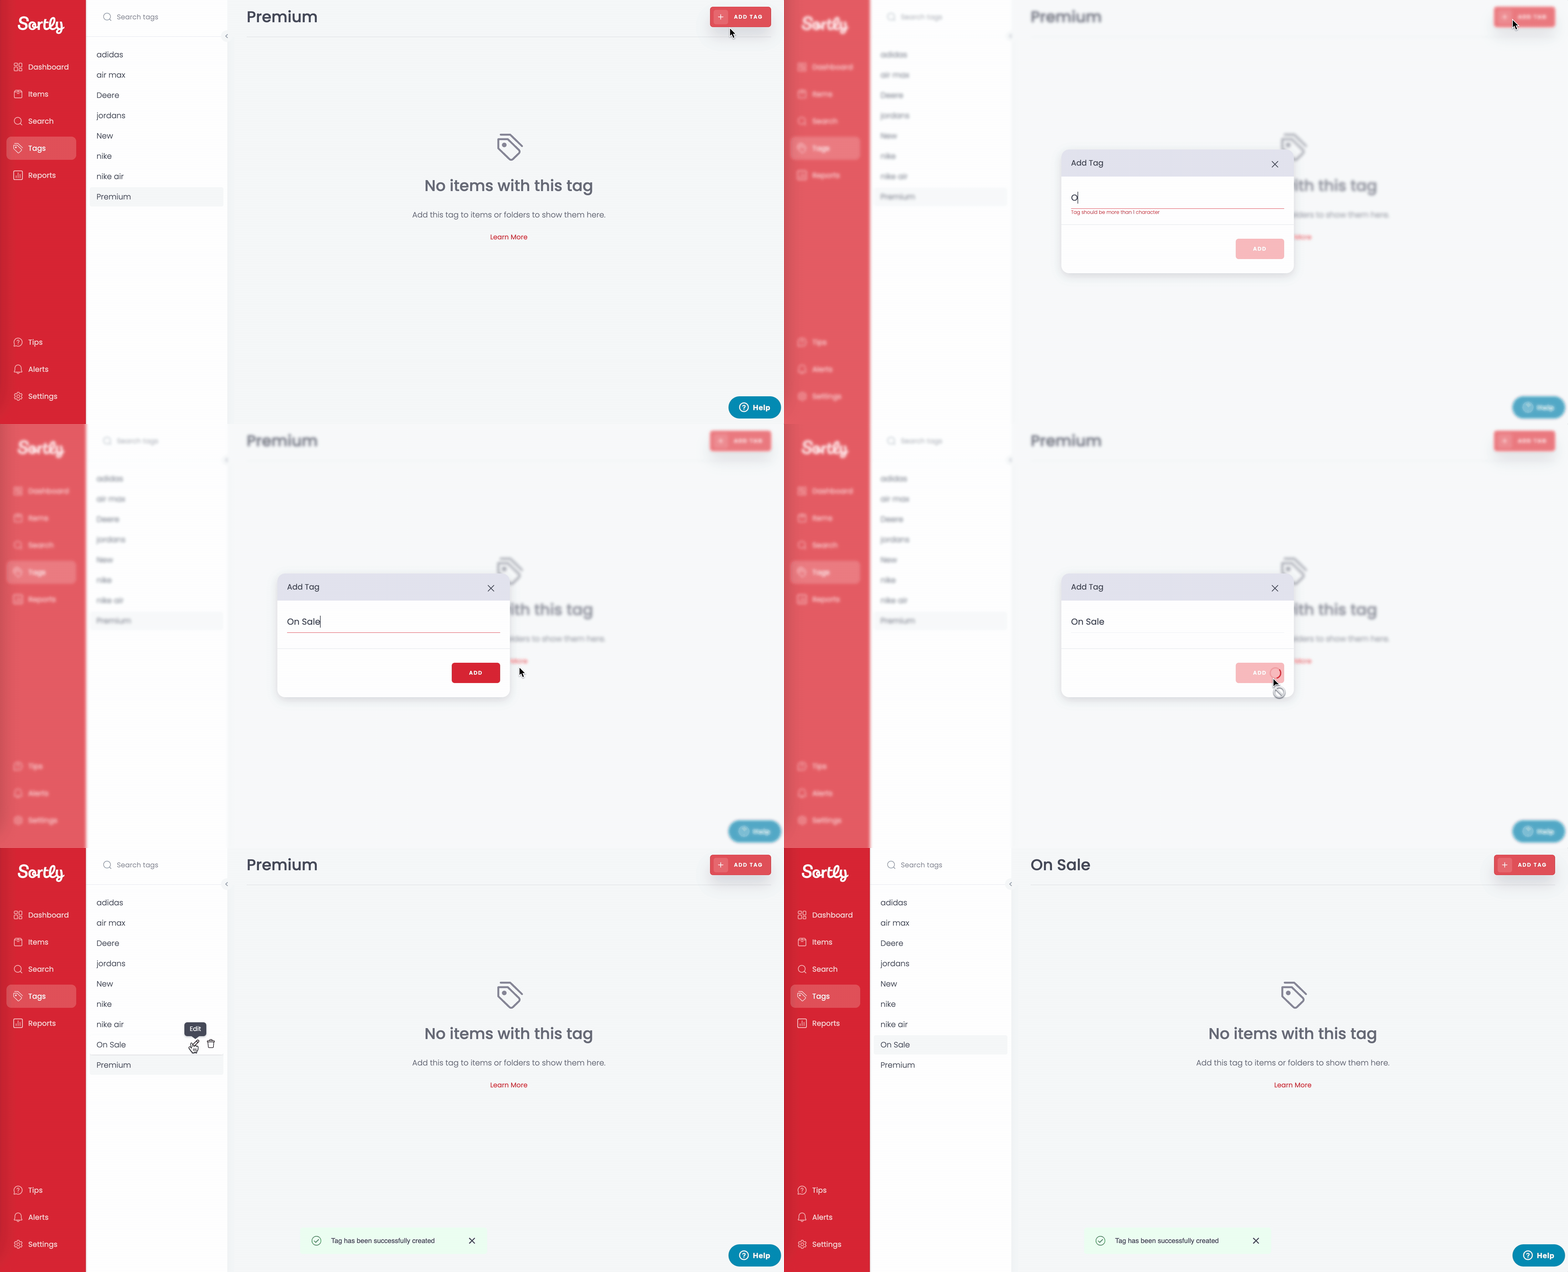
- Via the 'Add Tag' Button: Access the 'Tags' page and use the designated button to create new tags.
- Importing: Tags can also be added during quick or advanced imports of data.
Direct Input
When you add a tag directly to an item, it not only creates the tag for all items but also links that tag to the specific item. Conversely, adding a tag through the Tags menu adds it to your account without associating it with specific items.
Via the 'Add Tag' Button
From this view, you can also review all of your tags and remove tags from your system. If you remove a tag from the tags section, it will keep the item, but it will remove the tag on all items it was previously associated with. Once a tag is deleted, it cannot be recovered.
Deleting or Editing Tags
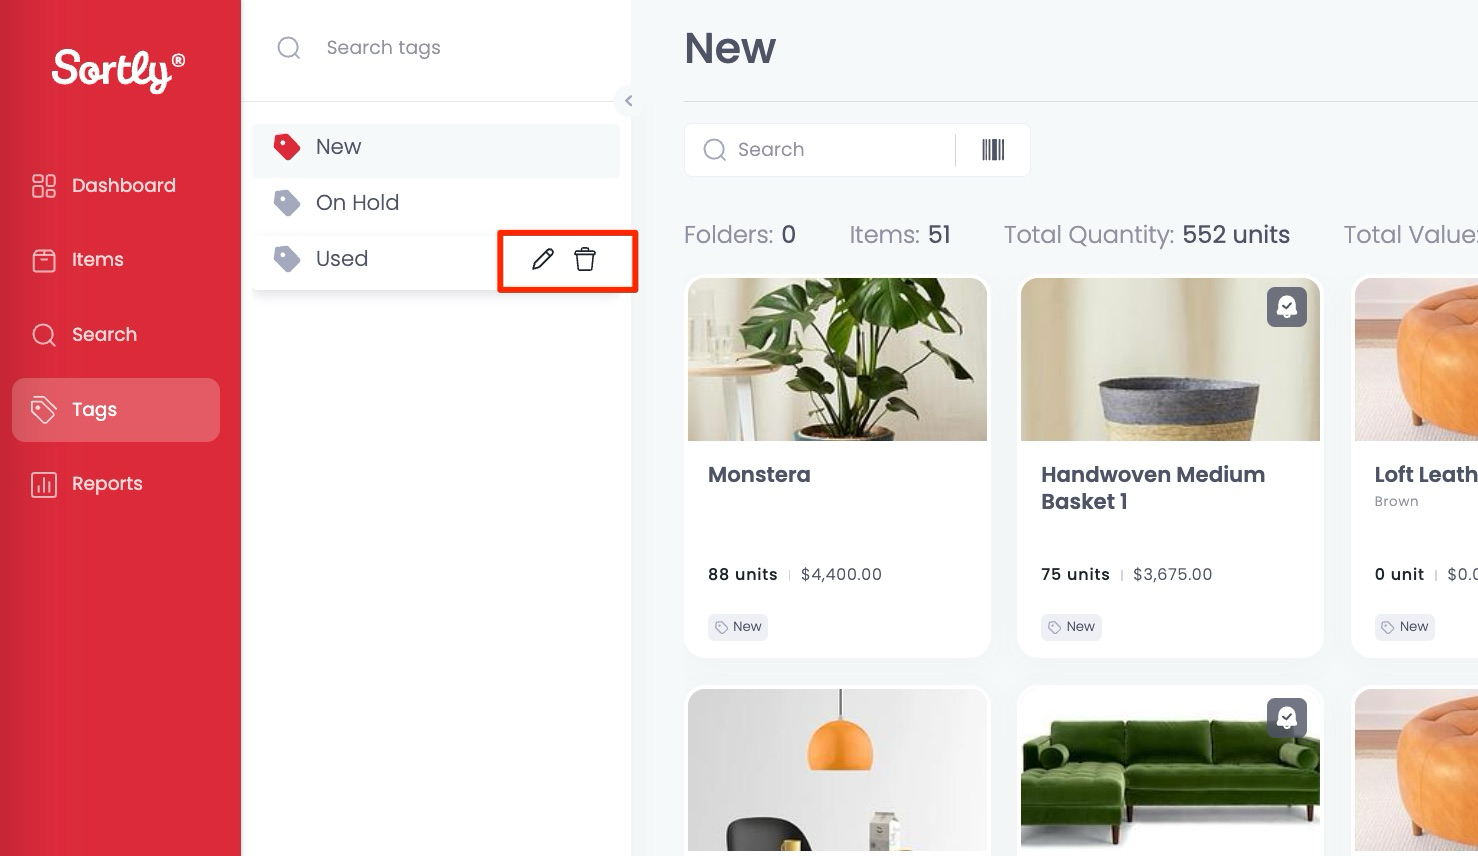
To edit an existing tag, simply hover over it and click on the pencil icon. Similarly, to delete a tag, hover over it and click on the trashcan icon. Currently, bulk deletion of tags is not supported.
Exporting Items with Tags
You can export items with tags easily from the Tags Tab in the same way you would from other tabs.
-
1Select your tags
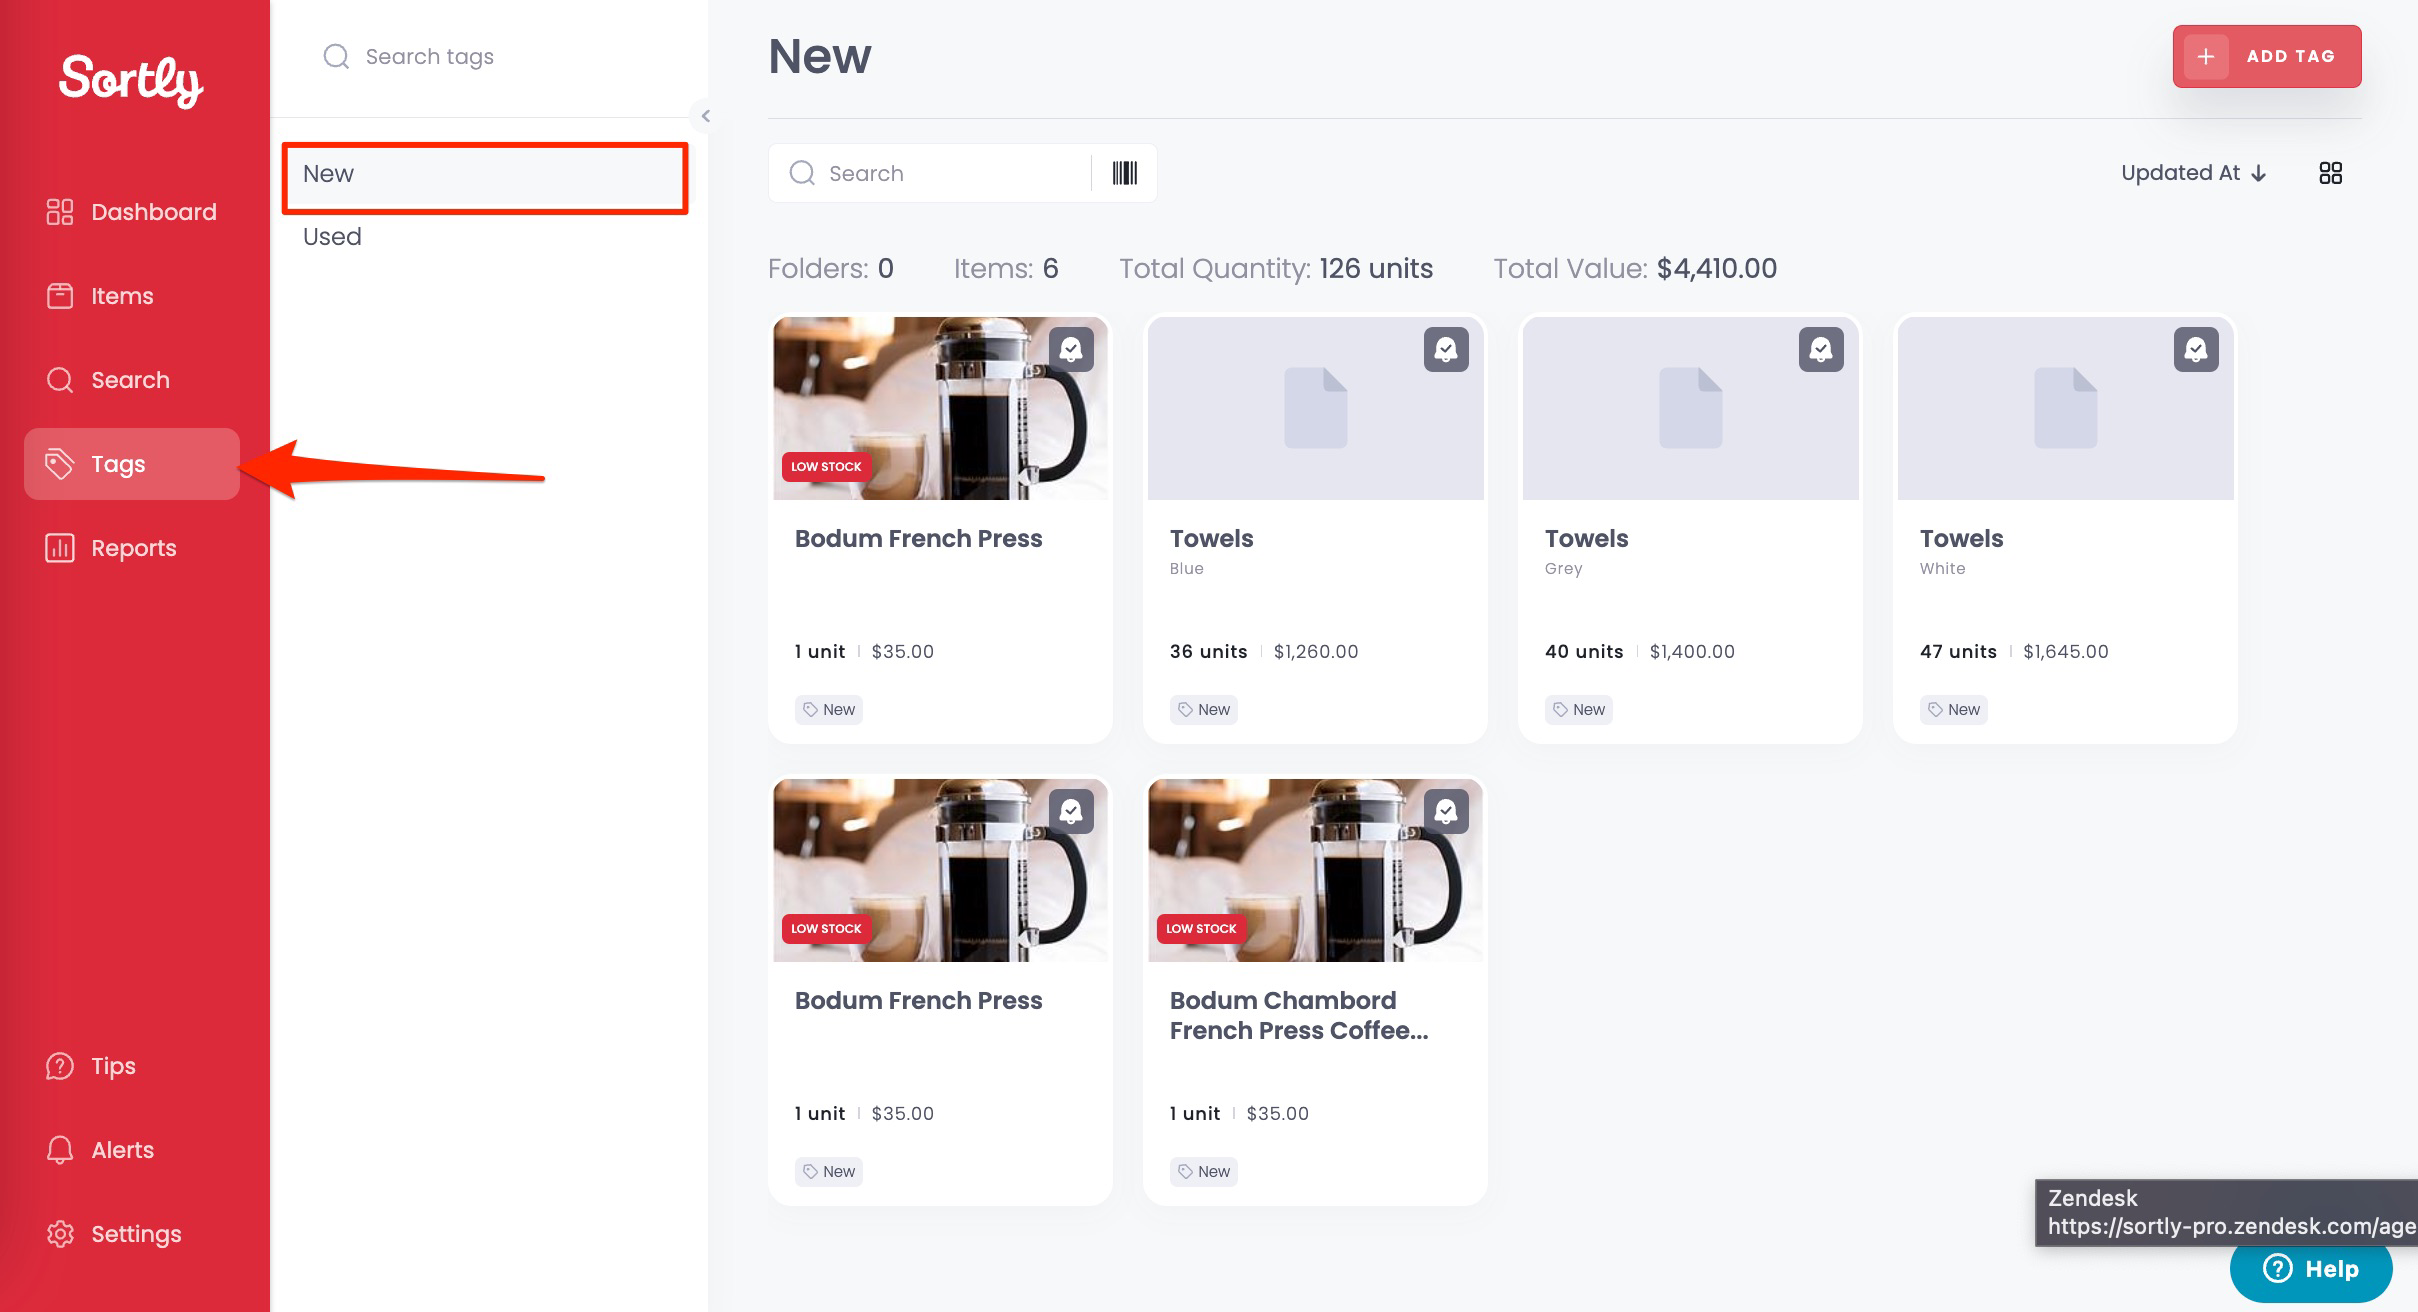
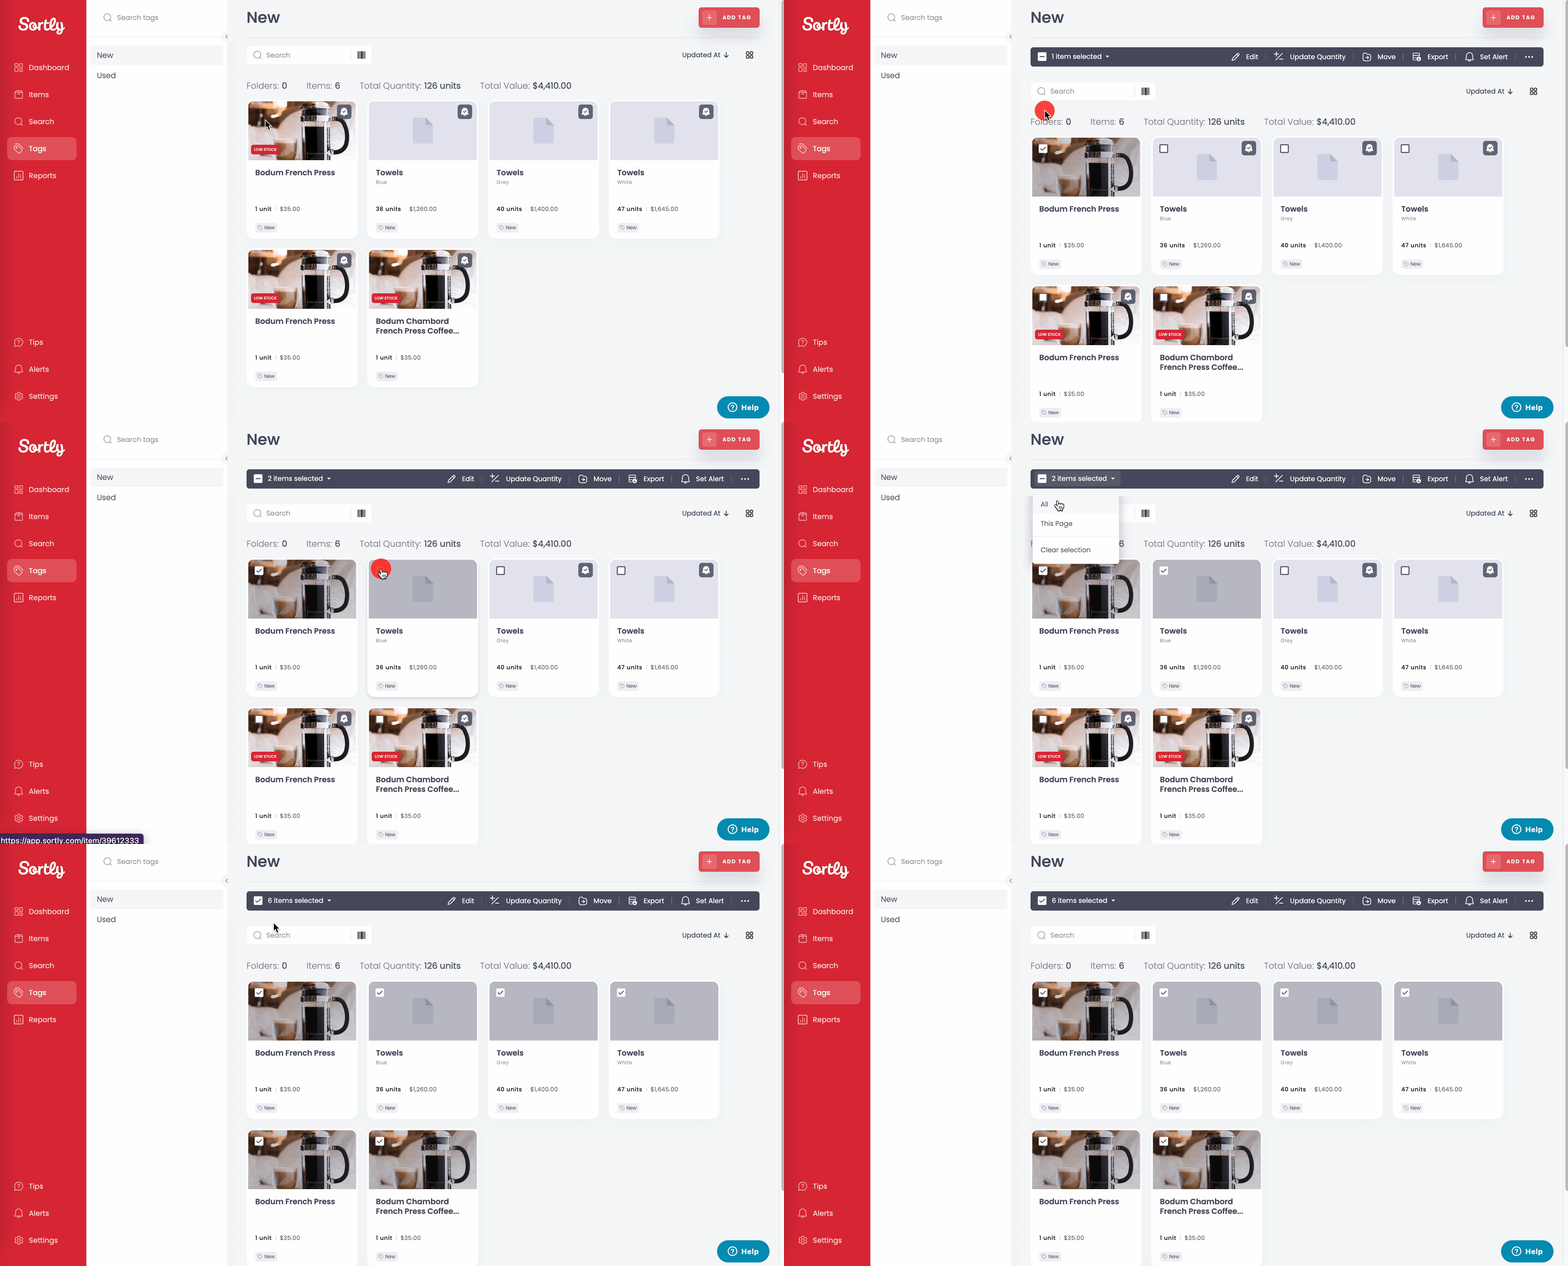
Navigate to the Tags tab and select the tag(s) for which you want to generate a report.
-
2Choose the items to export
Choose the items you wish to export, either individually or using the 'Select All' option.
-
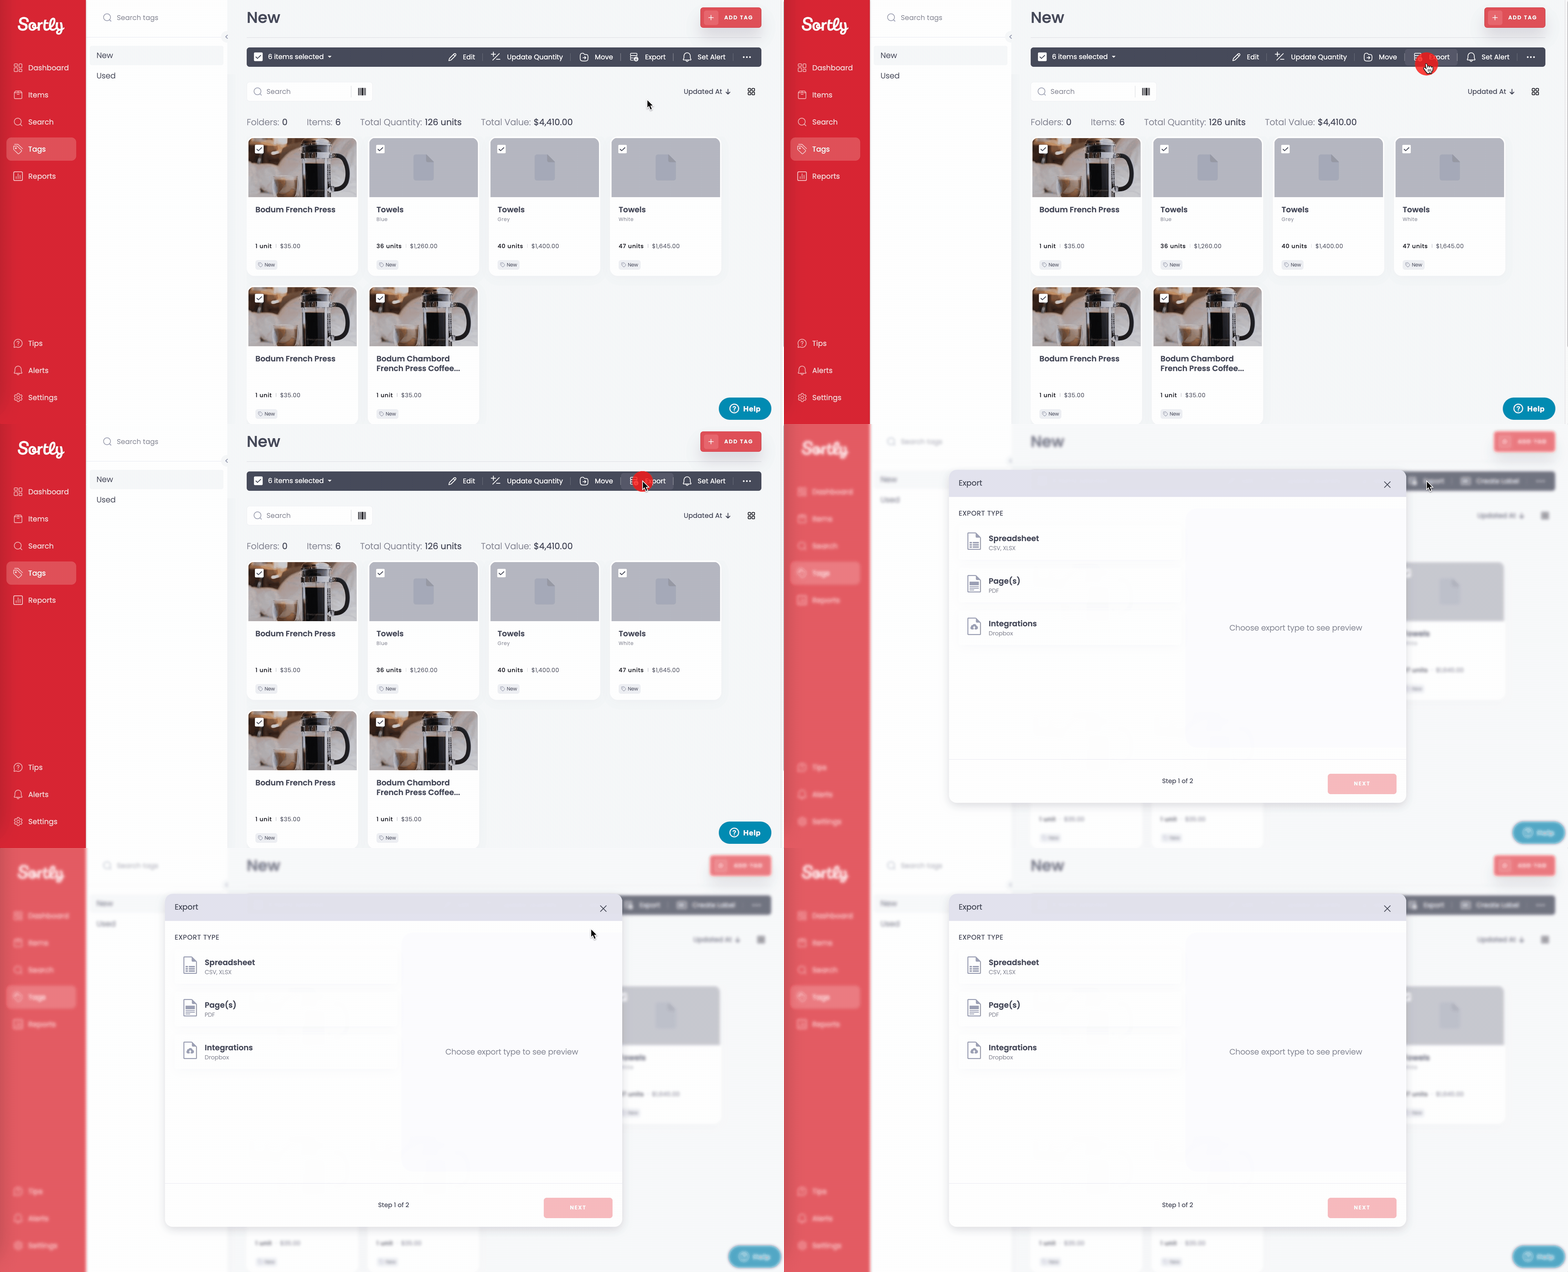
3Export
Click on Export and select your preferred format: CSV/Excel, PDF, or Dropbox.
You can read more about exporting items here: How to Export your Inventory
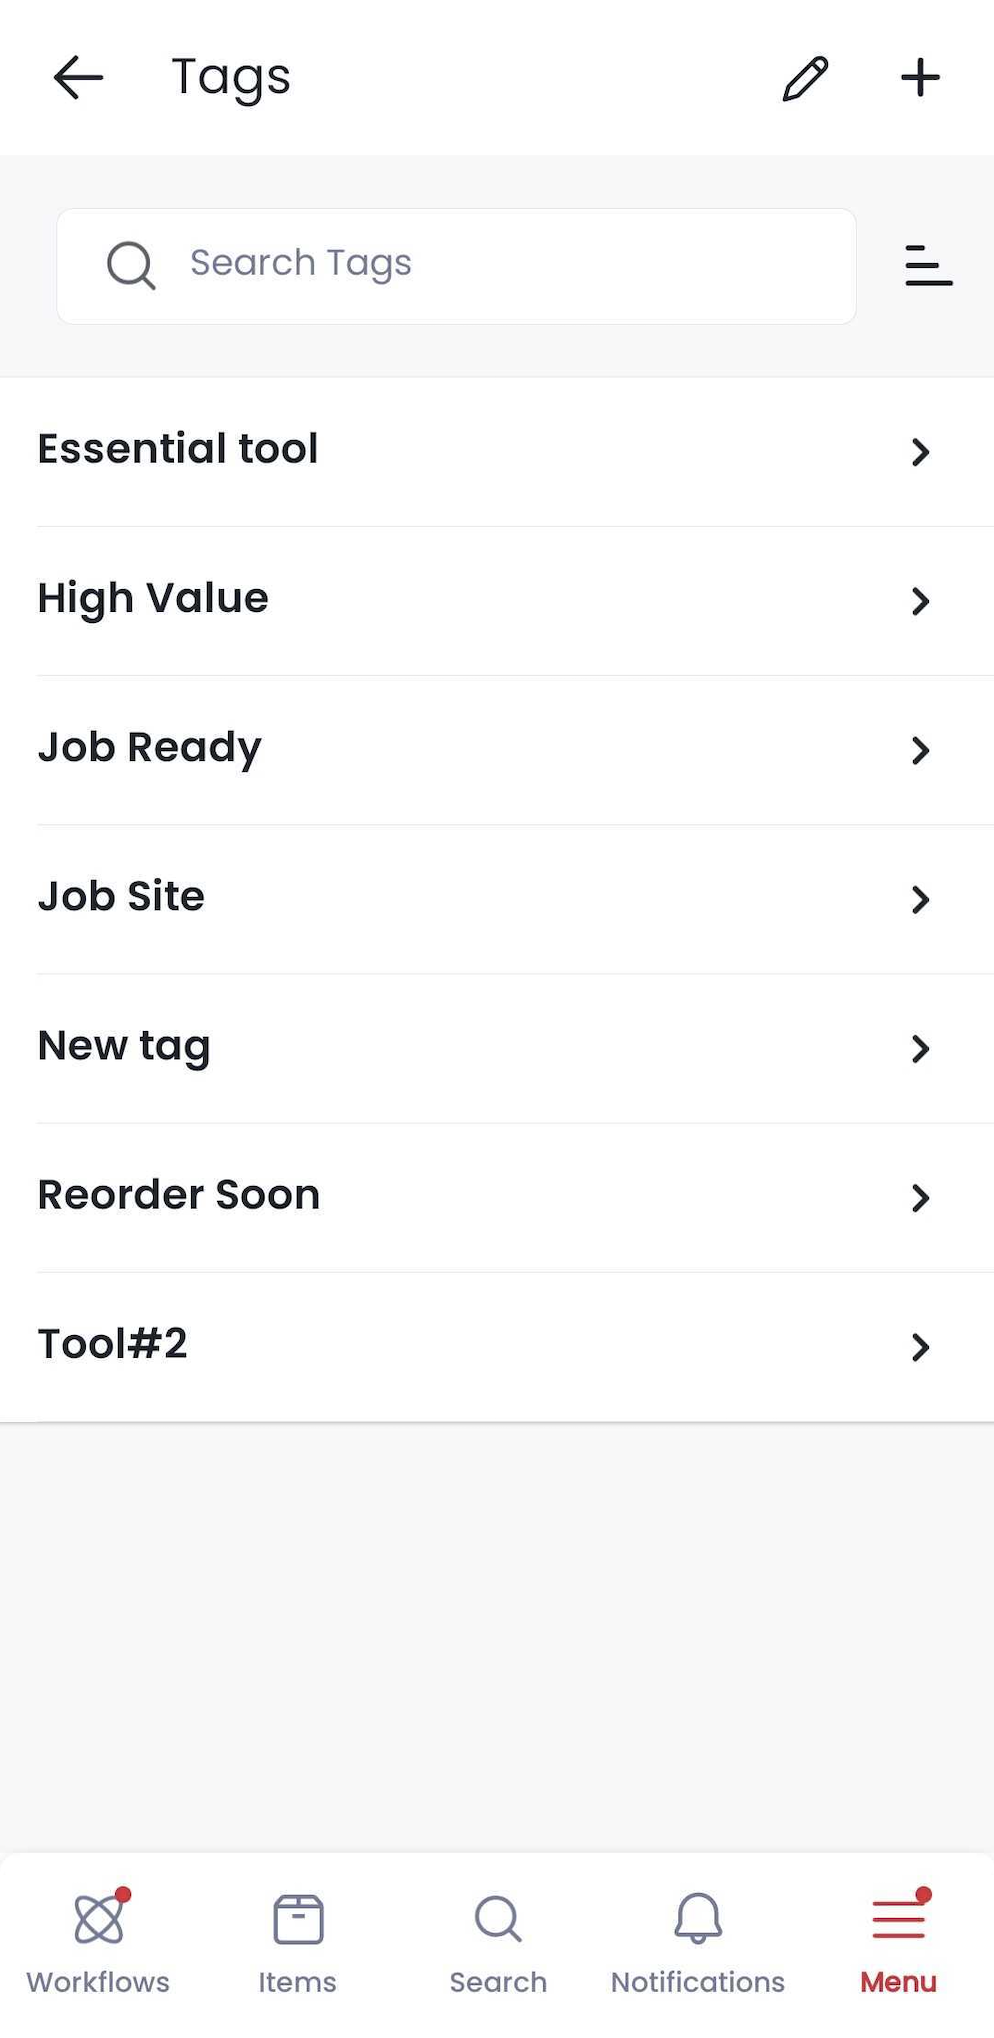
Managing Tags on the Mobile App
You can also manage tags conveniently through the Sortly mobile app:
-
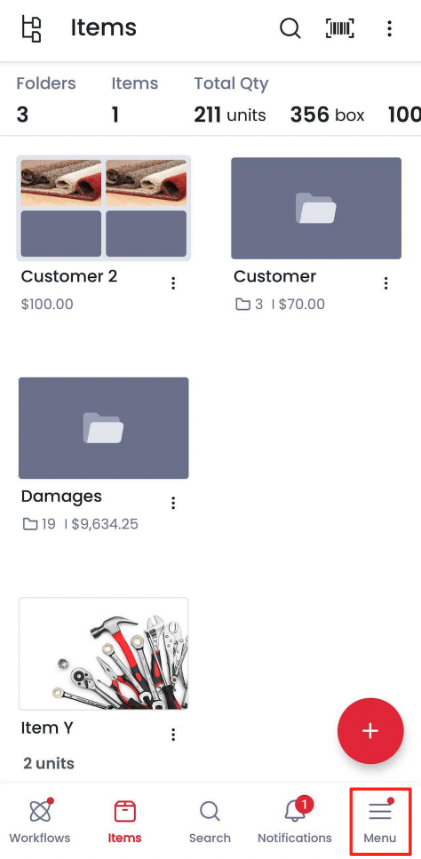
1Open Settings
Open the app and click Menu, then Settings.
-
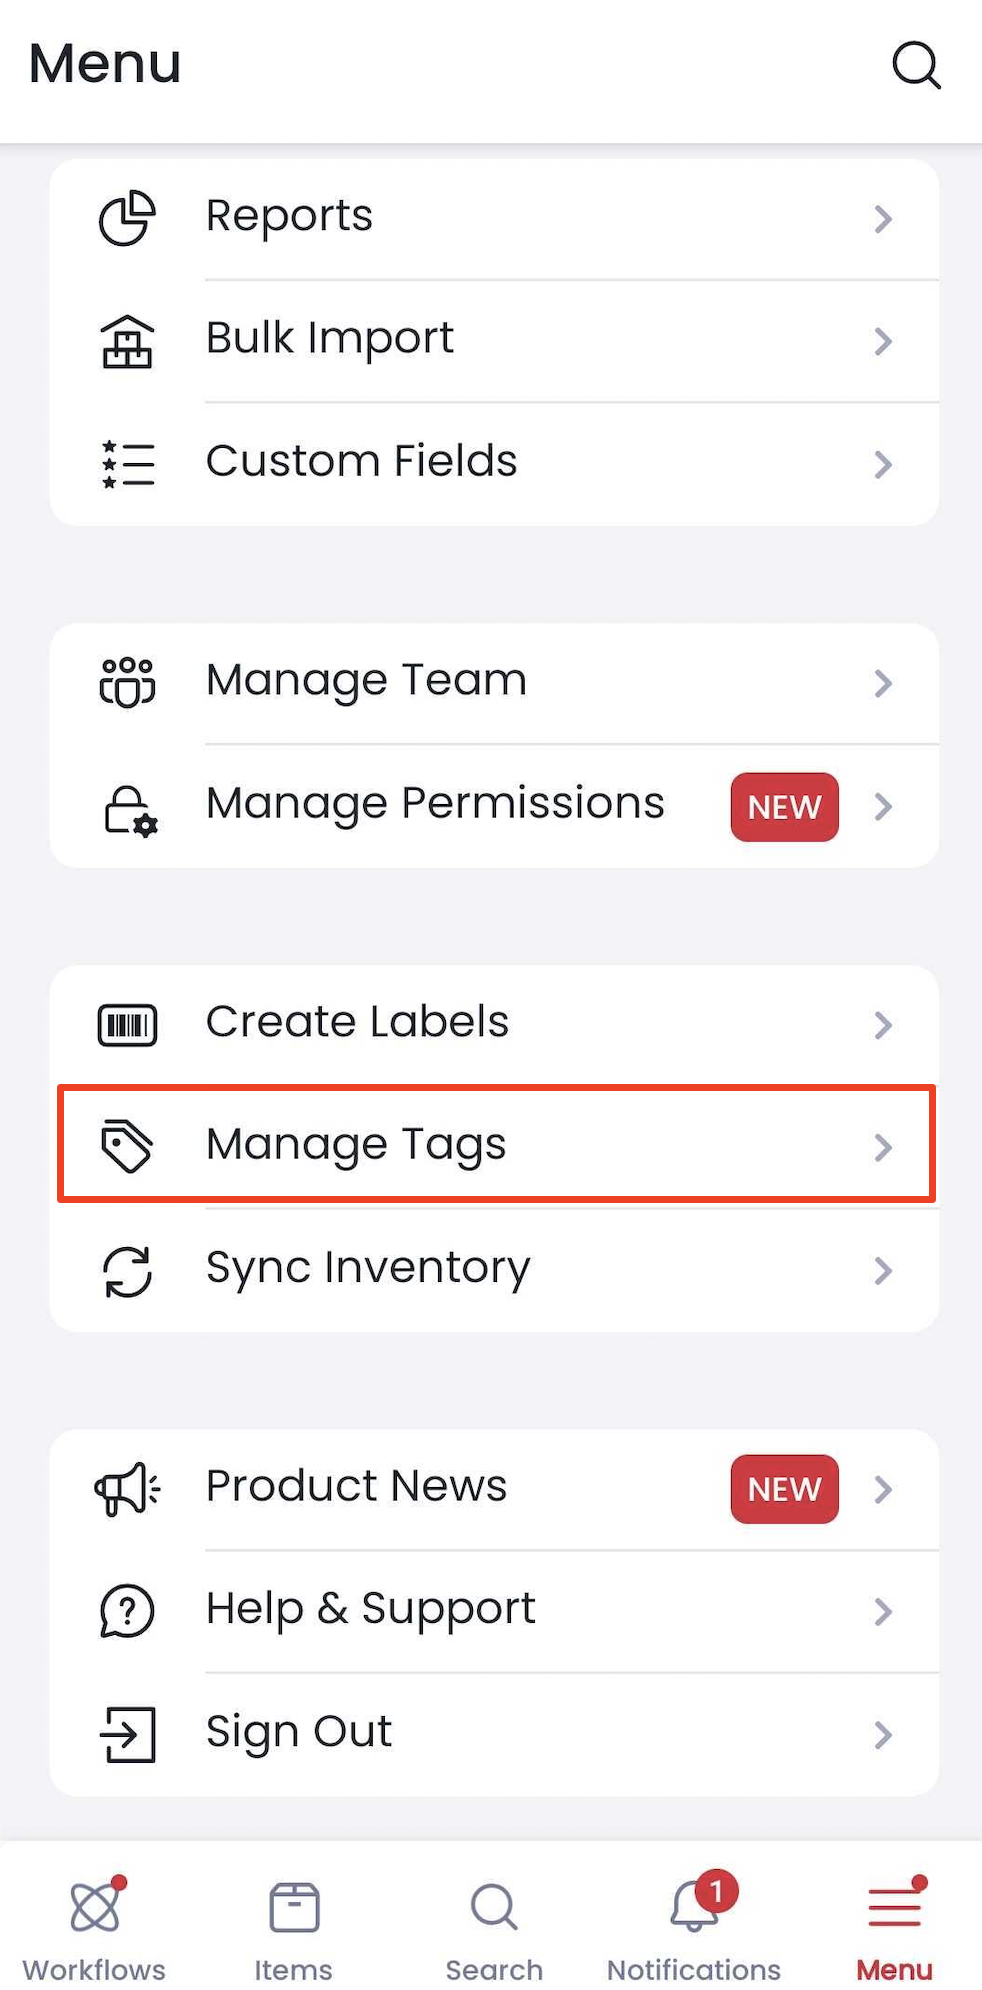
2Open Manage Tags
Select Manage Tags to view all tags associated with your account.
-
3Review your tags
Make adjustments to existing tags or review items linked to each tag.
Video Walkthrough
You can view how to add tags to your items in the video below.